Index of Pictures / ..

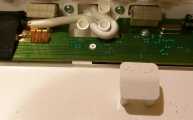
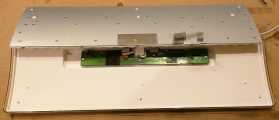
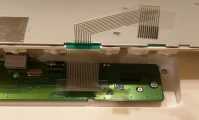
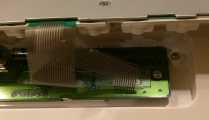
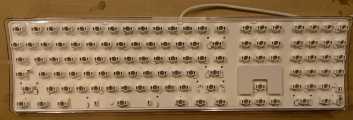
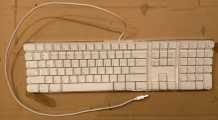
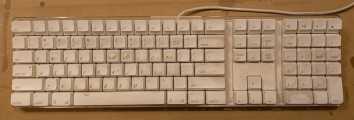
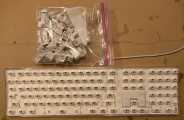
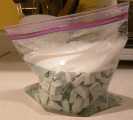
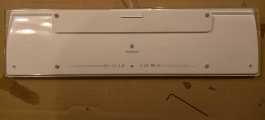
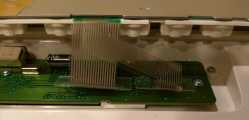
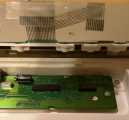
  The victim, a dirty Apple A1048 keyboard. Remove the key caps. Just pull them off. Stick the key caps in a bag. Add very hot water and dish soap. Zip the bag up and agitate well. Rinse and repeat. Remove the bottom screws with an .050-inch hex wrench. Flip the key tray assembly out away from the bottom assembly and hang the top row of the keys over the edge of the bottom assembly where the USB cable exits the case. Unplug the two keyboard connections. Gently pull the ribbon cables out of the PCB connector. Here is what the connectors look like unplugged. Set the key tray assembly aside for later.  
  1024x347 (104KB) 1024x668 (211KB) 1024x921 (227KB) 1024x464 (81.2KB) 1024x493 (108KB) 1024x950 (217KB)

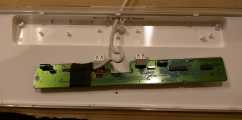
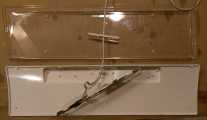
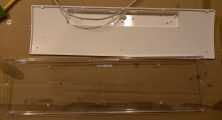
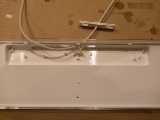
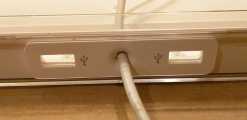
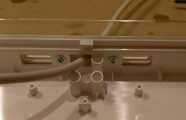
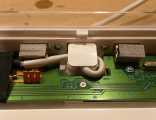
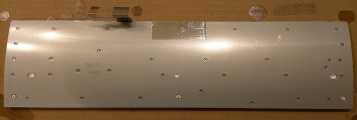
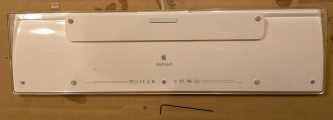
  Lift the wire retainer out of its holes. You may need to gently pry with a thin, flat-head screwdriver. Set the wire retainer aside for later. A shot of the keyboard printed circuit board. Note the four board mounting screws. One screw is located under the USB cable, so you willl need to displace the cable to access the screw. Remove the four PCB screws, feed some more of the USB cable into the bottom assembly and move the PCB out of the way. Remove the two screws that retain USB port shield from the clear bottom tray. Remove the two screws located at the top corners of the well the PCB was sitting in. These screws can be quite difficult to loosen, so be careful and do not strip them. Once the screws have been removed, work the front half of the white tray free of the clear tray, pull the white tray out completely, then feed the USB port shield and USB cable through the hole in the clear tray, then finally separate the two trays completely. Note that you can not remove the PCB without unsoldering the USB cable from the PCB, so just move the PCB out of the way for cleaning. Clean the two trays. Vacuum, water, and whatever cleaner you like will probably do the trick. Make sure everything is dry before reassembly. A wipe-down with alcohol is a good idea before reassembly. Reinstall the two screws at the corners of the PCB well to affix the two bottom parts together. Run the USB cable and shield back through the hole in the clear tray, slide the white tray in PCB-well-side-first, then line the trays up and set everything back in to place.  
  1024x637 (129KB) 1024x298 (82.3KB) 1024x508 (119KB) 1024x594 (131KB) 1024x554 (103KB) 1024x768 (139KB)

  Reattach the USB shield. This pic shows the proper orientation of the shield; it can only be installed one way. Screw the USB shield back in before reinstalling the PCB. Reinstall the PCB. Locate the PCB properly in the well, then reinstall the four screws removed previously. Route the USB cable as it was routed previously around the strain-relief bosses. Reinstall the wire retainer. You have finished reassembling the bottom assembly; set it aside for now. Grab the key tray assembly and place it key-side-down. Unscrew the 33 Philips screws. Screws removed. Note the two holes on the left side of the metal plate. Those holes are where the screws that retain the arrow key surround on the key tray are located.  
  1024x497 (103KB) 1024x660 (99.5KB) 1024x338 (92.6KB) 1024x790 (208KB) 1024x344 (72.9KB) 1024x329 (70.9KB)

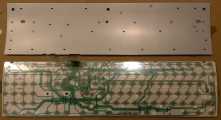
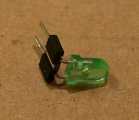
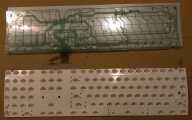
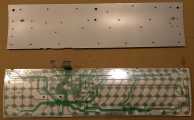
  Flip the metal back plate away from you to expose the trace sheets. Clean off the metal plate if any debris can be seen on the plate. Use alcohol to clean off anything that is on the trace sheets. Flip the trace sheets away from you on to the metal plate. Using alcohol, wipe off anything that is stuck on to the trace sheets. Note the 109 rubber nubs and the caps-lock LED position. A more detailed view of the caps-lock LED orientation. Remove the caps-lock LED and set it aside for later. The caps-lock LED. The caps-lock LED. Remove the nubs. Tweezers make it easy to grab the nubs for removal.  
  1024x556 (147KB) 1024x288 (91.6KB) 698x1024 (170KB) 791x684 (81.8KB) 648x909 (100KB) 1024x283 (103KB)

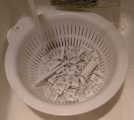
  Flip the key tray over and notice how grungy it is. Dump the key caps into a strainer and run very hot water over them. Stir them up to make sure any debris gets removed. Do not tell your wife you used the strainer. Wash the key tray. Alcohol, water and cleaner does the trick. Q-tips are handy for cleaning around the key bosses. Reinstall the nubs and the caps-lock LED. Fingers work fine for reinstalling the nubs; no tweezers needed. Flip the trace sheets back in to place over the key tray, nubs and caps-lock LED. Flip the plate back in to place on top of the trace sheets.  
  1024x272 (110KB) 1024x920 (155KB) 1024x294 (97.7KB) 1024x640 (171KB) 1024x632 (154KB) 1024x272 (57.3KB)

  Reinstall the 33 screws. It is a good idea to start at the center and work your way out in a spiral pattern. The screws strip easily, so be careful. You will need to hold the arrow surround piece in to place while you install the screws for those two locations. Set the key tray assembly on the edge of the bottom assembly. Plug in one cable. Plug in the other cable. Flip the key tray assembly back in to place on top of the bottom assembly. Make sure everything lines up properly and that no cables are being pinched anywhere. While squeezing the key tray assembly and bottom assembly together, flip the keyboard over and reinstall the three .050-inch socket-head screws through the bottom assembly into the key tray assembly to secure the two assemblies together.  
  1024x266 (61.8KB) 1024x441 (92.2KB) 1024x619 (154KB) 1024x587 (133KB) 1024x348 (118KB) 1024x369 (68.9KB)

  Replace the key caps. Make sure they are clean and dry. Q-tips and alcohol help. You are done. Plug the keyboard in and marvel at your refreshed keyboard.  
  1024x564 (148KB)

created with igal2 2.1