

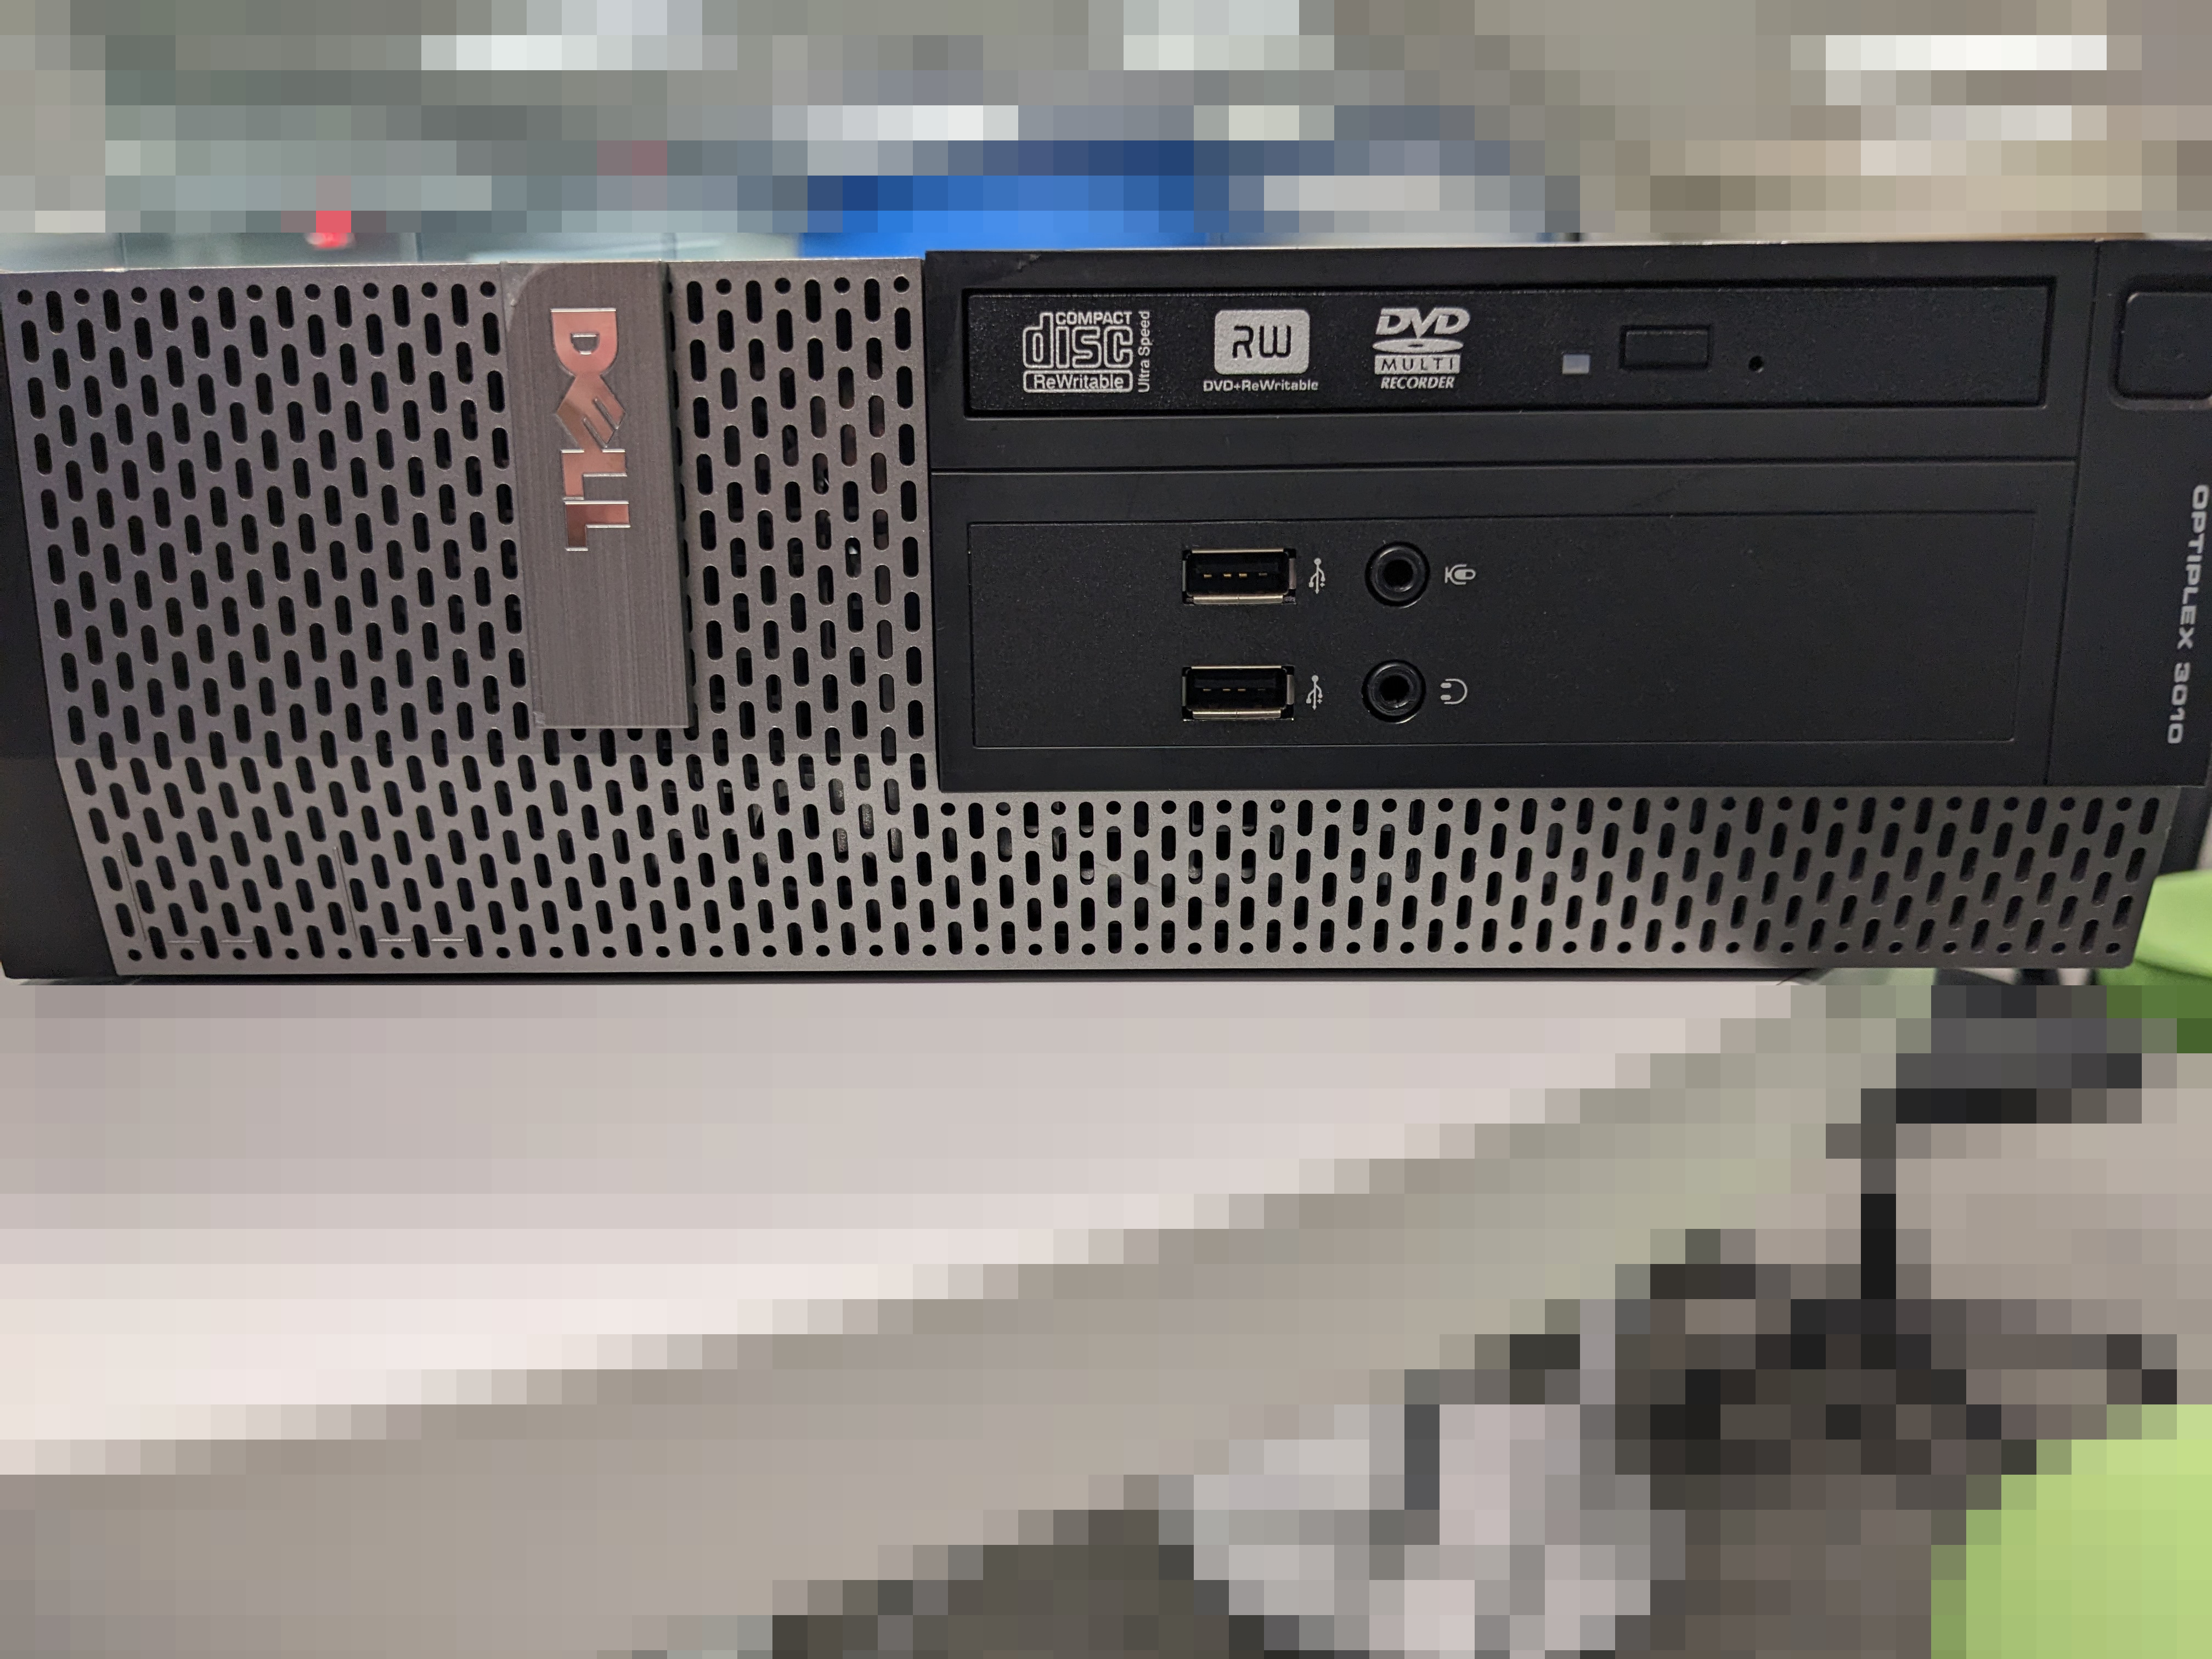
OpenSUSE LEAP 15.5 on Dell Optiplex 3010 (Refurbished)
Introduction
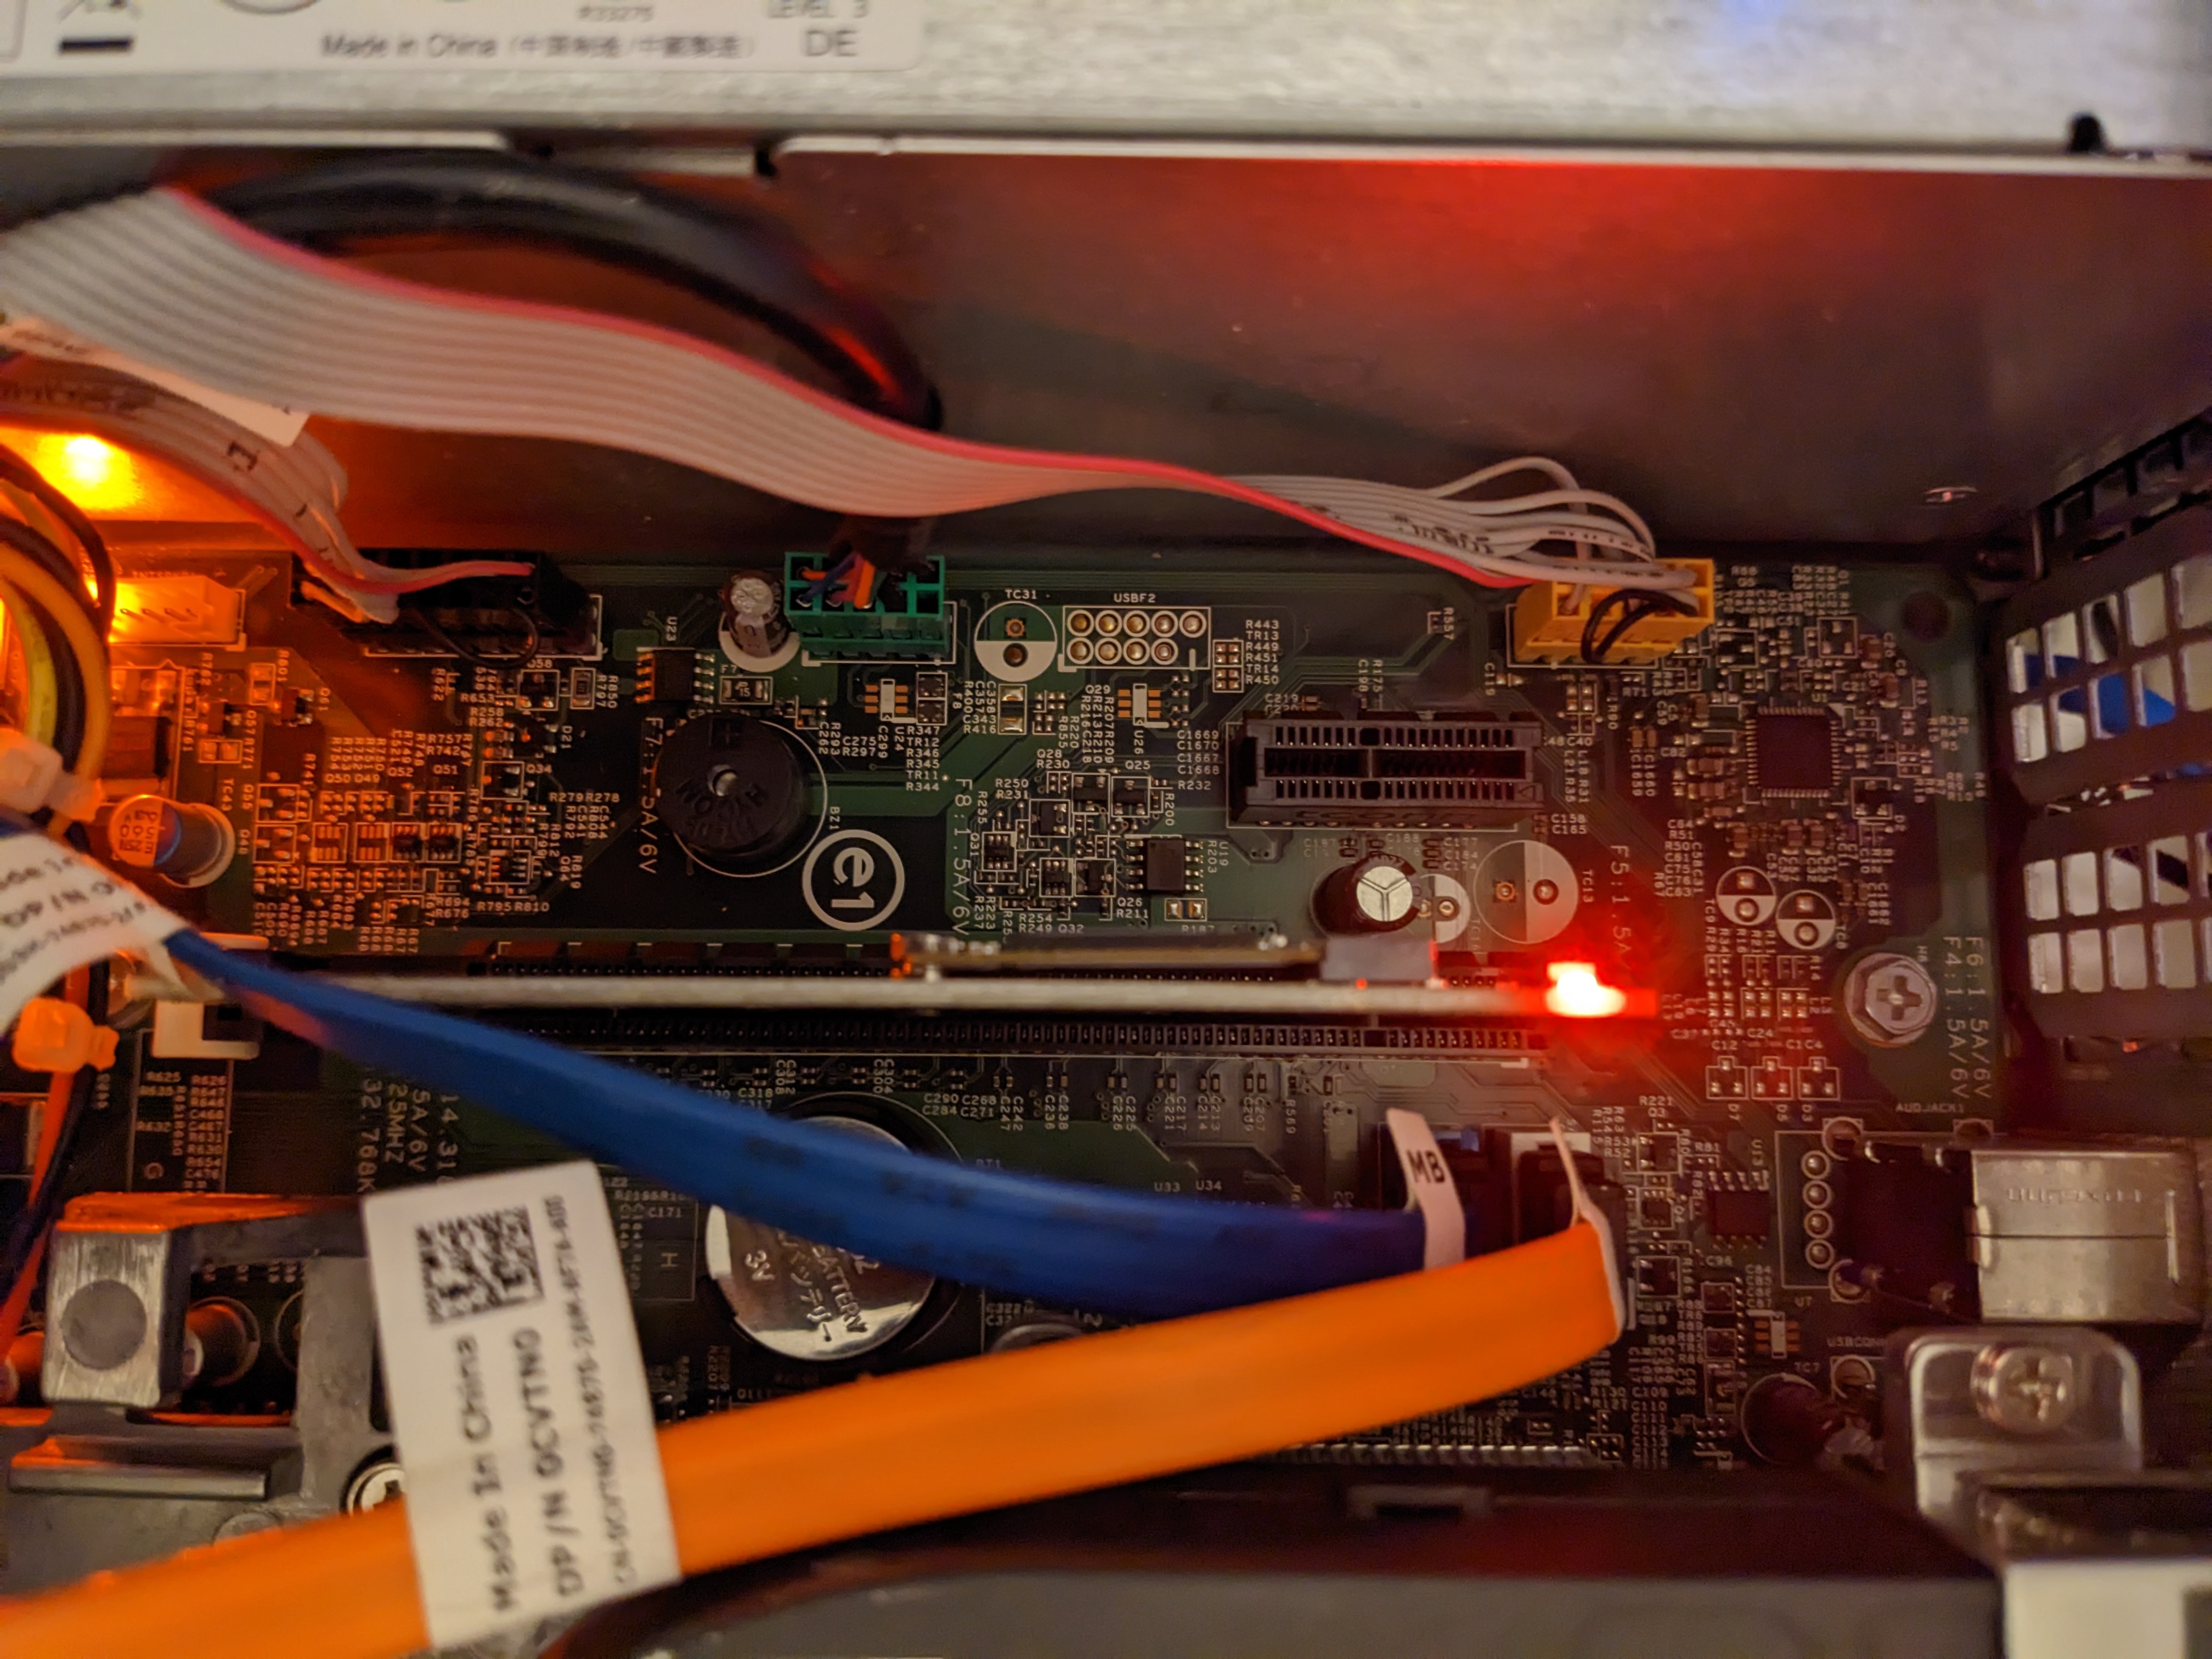
I got this cheap refurbished desktop for my
students to learn Linux on. But then I changed jobs to be
a drug counselor so I took it home with me and turned it into a
media center. I tried a Debian-based Kodi/entertainment
system distribution but it didn't work out, and I couldn't
figure out why. So I went back to the distribution I know
the best: OpenSUSE. As always, click an image to view the
original.
This article will help you with how to install OpenSUSE LEAP 15.4 on this laptop. But the usual riot act: I am not responsible for anything that happens as a result of you following these instructions. This article is just me telling the story of what worked for me.
| HARDWARE COMPONENTS |
STATUS UNDER LINUX |
NOTES |
| Intel i3-3220 CPU @ 3.30 GHz |
Works |
|
| System Memory: 8GB | Works |
No upgrade possible at this time |
| Intel Xeon E3-1200 v2/3rd Gen Core
processor Graphics Controller |
Works |
This is the name from /sbin/lspci so take
with a grain of salt |
| Toshiba 512GB HDD 3.5" |
Works |
See below for upgrade notes |
| Intel HD Audio 6 Series/C200 |
Works |
|
| Intel onboard USB 6 Series/C2000 (multiple
ports) |
Works |
All USB 2.0 most likely |
| Intel 6 Series/C200 SATA |
Works |
Only has 2 ports, so buyer beware! |
| GLOTRENDS M.2 PCIe 4.0/3.0 Adapter Without
Bracket |
Works | Good cheap expansion |
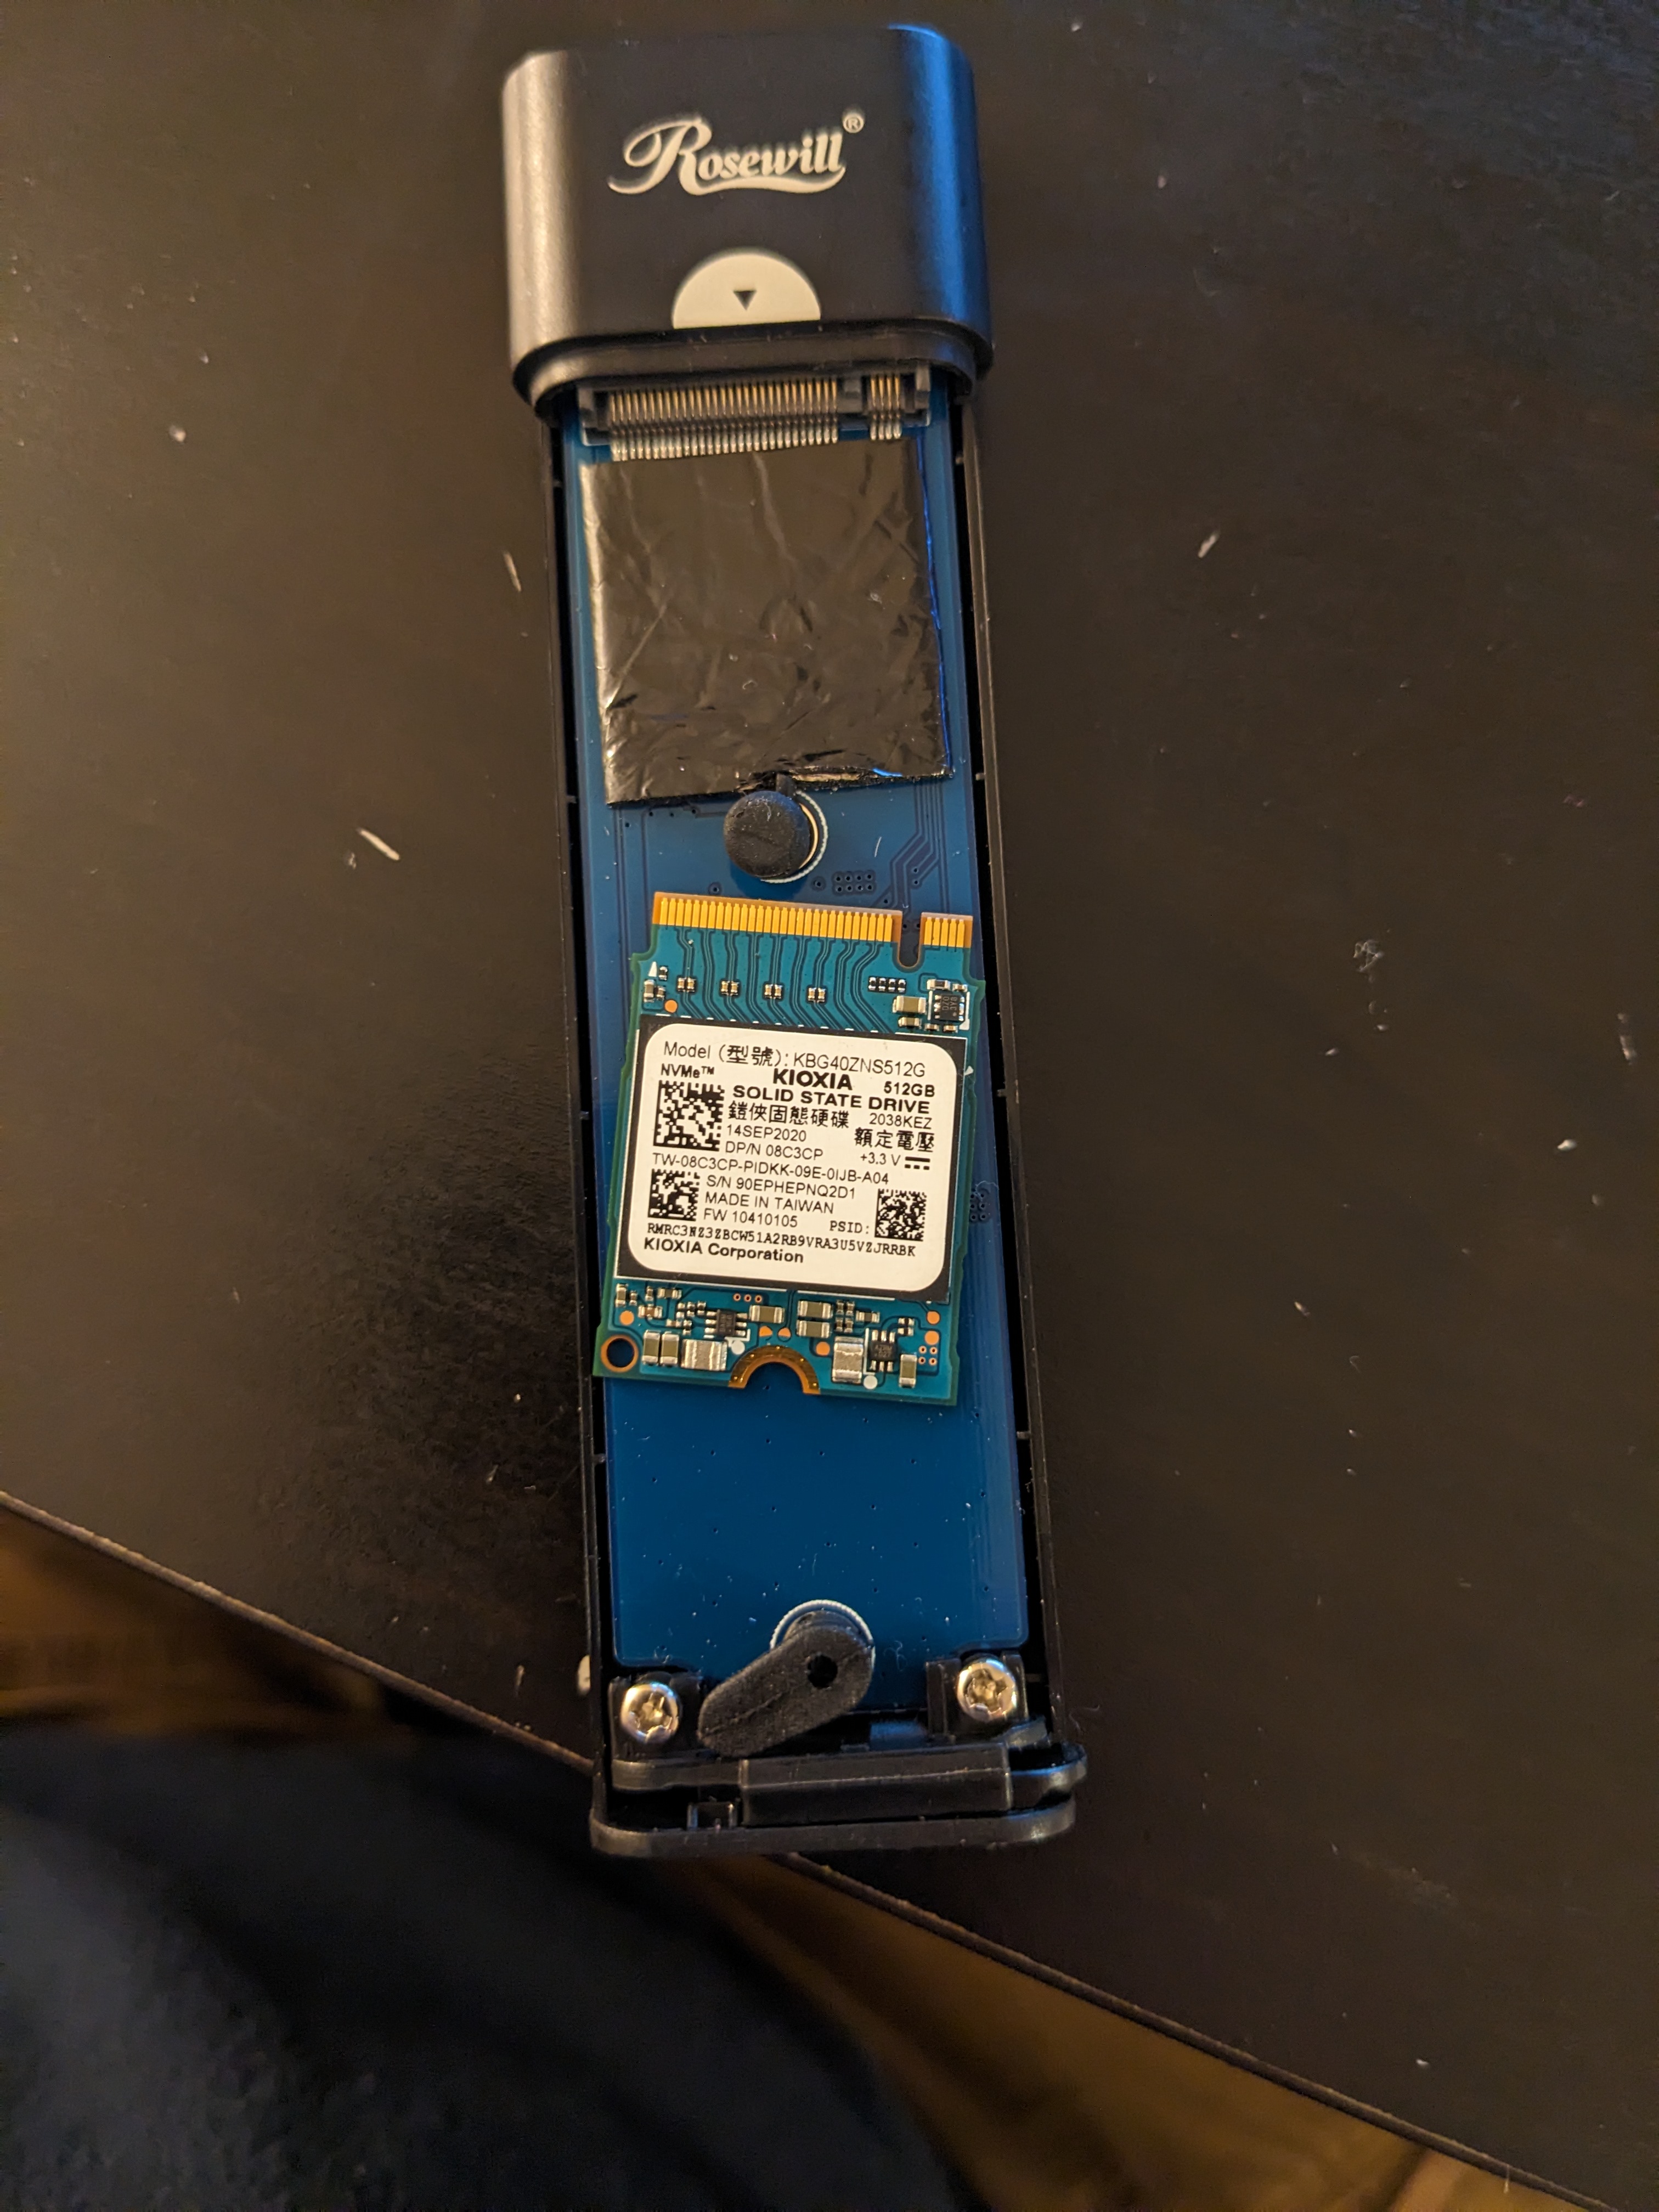
| Kioxia BG4 NVMe SSD Controller (512GB) |
Works |
From my Dell Inspiron that I upgraded |
| Realtek Ethernet RTL8111/8168/8411 |
Works |
Installation
At first, when I got this, I was going to leave Windows 10 on it "forever". But after careful consideration, I decided against it. So when I first got this computer I had made a dd image of the drive; I'll save this but I'll be using only Linux.
So before I installed the GLOTRENDS PCIe adapter for my laptop's old M.2, I installed normally to the internal hard drive. After, however, I tried to use the NVMe drive by itself.
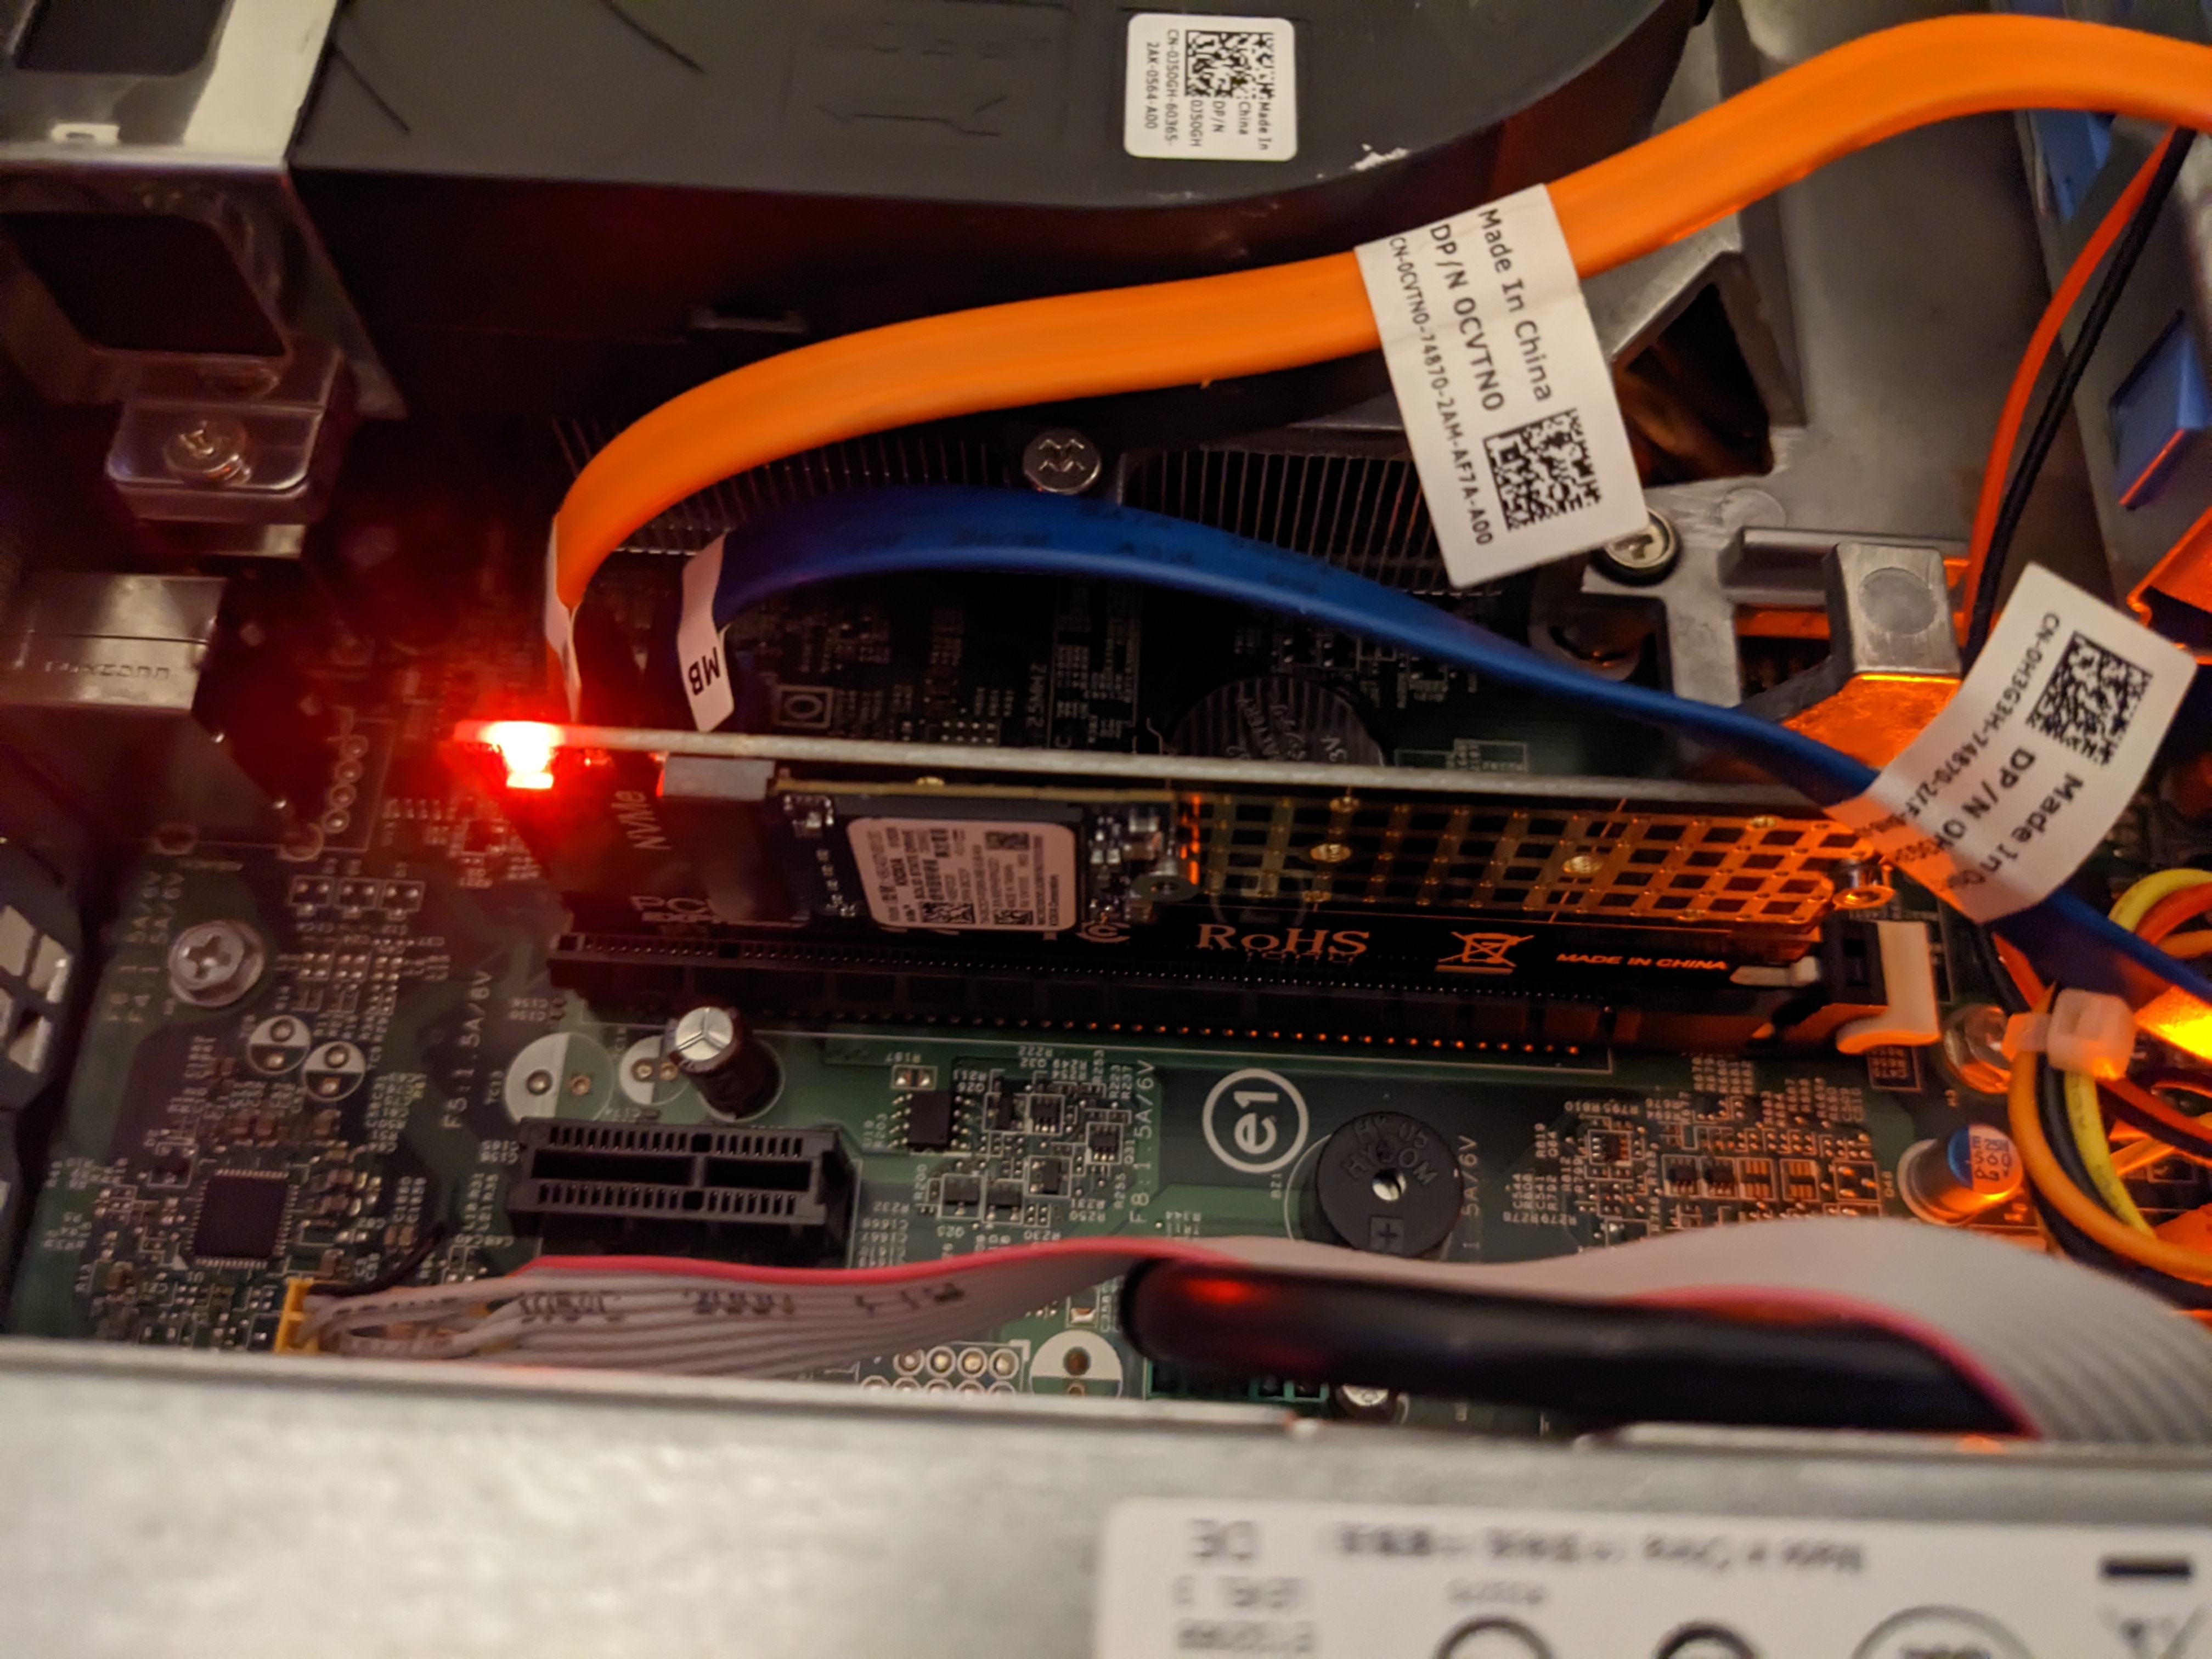
That did not work because this system is so
old that it doesn't support booting from PCIe. So my
solution was to put the EFI and just the /boot directory (in a
partition) on the native HDD and then everything else on the
NVME M.2 SSD. And that worked very well.
Network Setup
So using this as a home entertainment center means you may want to make things easier in terms of managing the device. Here are my recommendations.
First, set your router to hold a DHCP reservation for this machine. That way the IP address usually doesn't change.
Second, set OpenSSH up on the device and
open port 22. I haven't bothered yet to set up a tighter
defense for the network, but such a configuration would allow
port 22 only within the LAN.
Devices
Here is the output of lspci.00:00.0 Host bridge: Intel Corporation Xeon E3-1200 v2/3rd
Gen Core processor DRAM Controller (rev 09)
00:01.0 PCI bridge: Intel Corporation Xeon E3-1200 v2/3rd Gen
Core processor PCI Express Root Port (rev 09)
00:02.0 VGA compatible controller: Intel Corporation Xeon
E3-1200 v2/3rd Gen Core processor Graphics Controller (rev 09)
00:16.0 Communication controller: Intel Corporation 6
Series/C200 Series Chipset Family MEI Controller #1 (rev 04)
00:1a.0 USB controller: Intel Corporation 6 Series/C200 Series
Chipset Family USB Enhanced Host Controller #2 (rev 04)
00:1b.0 Audio device: Intel Corporation 6 Series/C200 Series
Chipset Family High Definition Audio Controller (rev 04)
00:1c.0 PCI bridge: Intel Corporation 6 Series/C200 Series
Chipset Family PCI Express Root Port 1 (rev b4)
00:1c.4 PCI bridge: Intel Corporation 6 Series/C200 Series
Chipset Family PCI Express Root Port 5 (rev b4)
00:1d.0 USB controller: Intel Corporation 6 Series/C200 Series
Chipset Family USB Enhanced Host Controller #1 (rev 04)
00:1f.0 ISA bridge: Intel Corporation H61 Express Chipset LPC
Controller (rev 04)
00:1f.2 SATA controller: Intel Corporation 6 Series/C200 Series
Chipset Family 6 port Desktop SATA AHCI Controller (rev 04)
00:1f.3 SMBus: Intel Corporation 6 Series/C200 Series Chipset
Family SMBus Controller (rev 04)
01:00.0 Non-Volatile memory controller: KIOXIA Corporation NVMe
SSD Controller BG4
03:00.0 Ethernet controller: Realtek Semiconductor Co., Ltd.
RTL8111/8168/8411 PCI Express Gigabit Ethernet Controller (rev
06)Performance
Obviously the internal hard drive is going to be slower than the NVME, but here's the information anyways from hdparm -tT:
Factory HDD:
Timing cached reads:   12068 MB in  1.99
          seconds = 6050.38 MB/sec
Timing buffered disk reads: 556 MB in  3.00 seconds
          = 185.15 MB/sec
NVME drive:
Timing cached reads:   12632 MB
          in  1.99 seconds = 6333.34 MB/sec
Timing buffered disk reads: 4298 MB in  3.00 seconds
          = 1432.48 MB/sec
120GB SATA SSD:
Timing cached reads:   15570 MB in  1.99
          seconds = 7812.10 MB/sec
Timing buffered disk reads: 812 MB in  3.00 seconds
          = 270.28 MB/sec
Sound
This computer has an internal speaker, I
think. However, it also supports sound over HDMI, which is
good because I'm lazy.
Package-update-indicator
OpenSUSE LEAP 15.4's
package-update-indicator app is a pain in the rear. On
this machine, I went into Yast and configured the updates to
happen on a daily basis and disabled delta rpms. I also
removed execute permissions from the program itself.
TMPFS /tmp
On previous versions, you would have to add
a line to make the /tmp directory tmpfs. But with OpenSUSE
Linux 15.4, you can specify the /tmp during installation.
I would recommend making /tmp a tmpfs entry during installation,
especially with a solid state drive, to save write cycles, as
well as to make /tmp more "temporary."
Installing Software
Installing software on OpenSUSE LEAP 15.4 is
a good experience and very easy. I installed Kodi from
Packman.
Sensors
I added the XFCE sensors plugin and enabled
all the options (sensors) inside of it to see how many sensors
the computer manifests over SMBus/I2C/serial. There are 11
sensors, unlike my last laptop. (Although maybe the last
laptop had 22 because 11 were duplicated between I2C and ACPI.)