


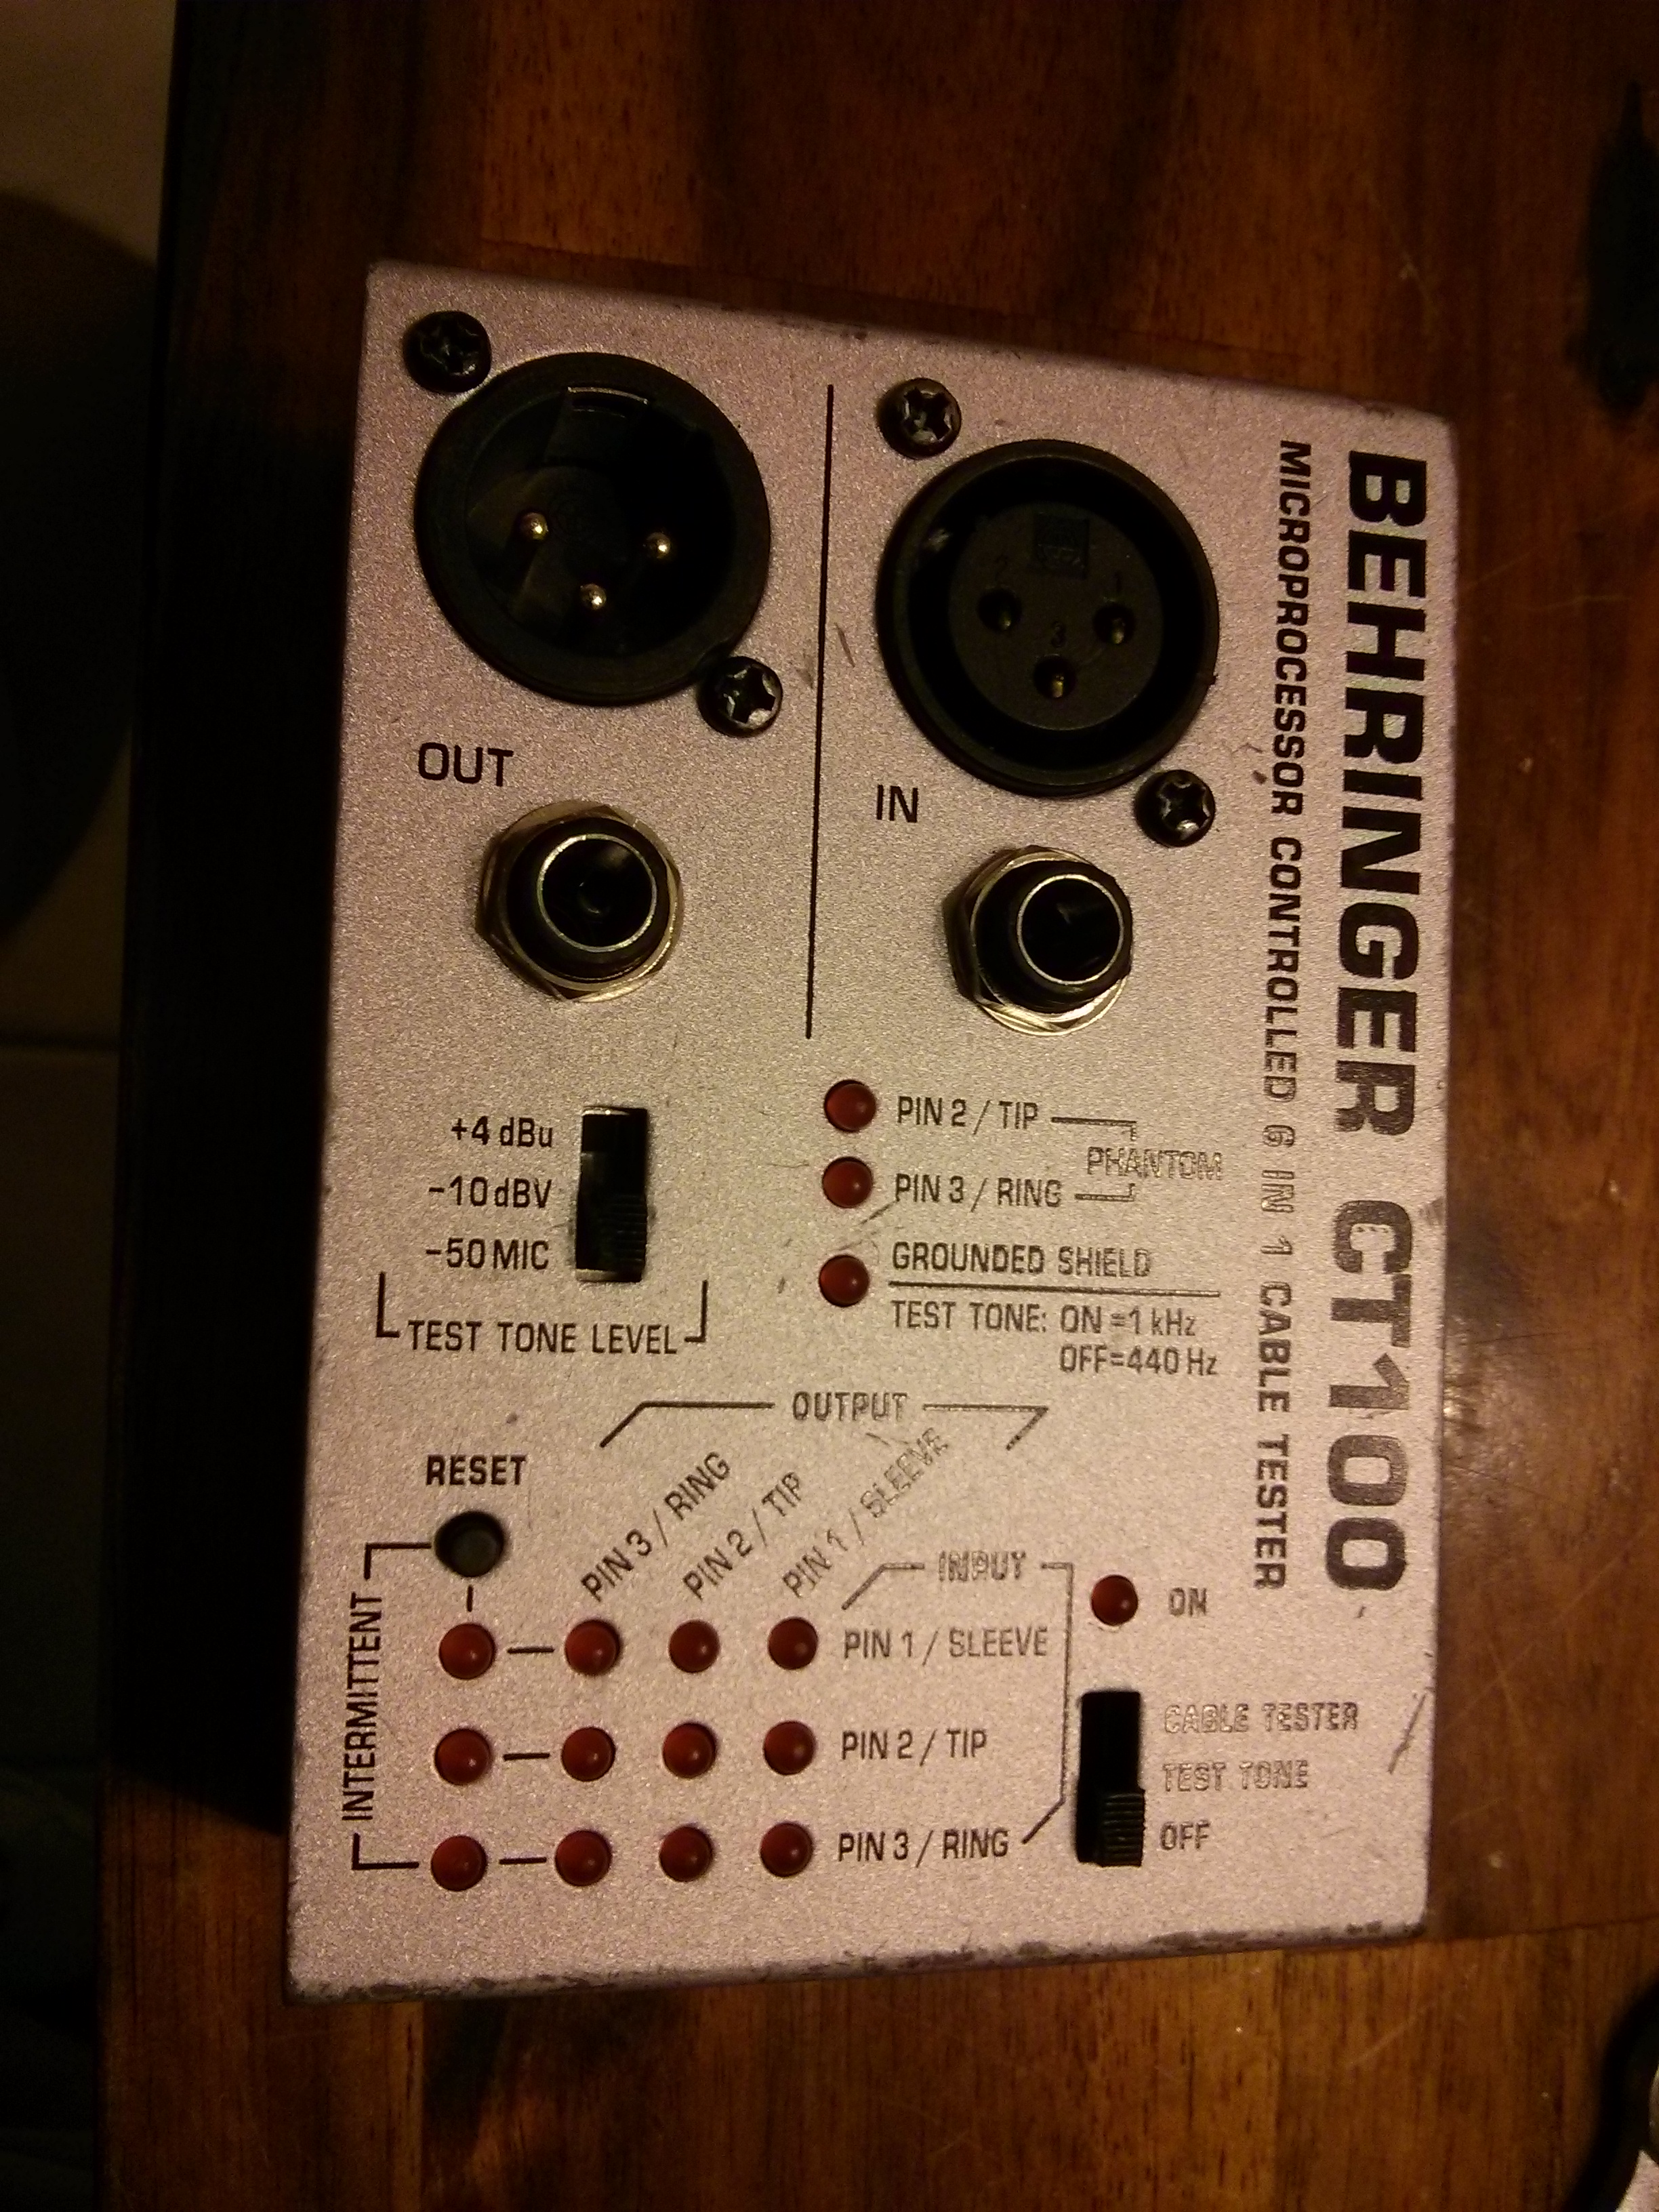
The Behringer CT-100 Taken Apart
Introduction
I recently had to take my Behringer CT-100 apart to fix an engineering defect: a plastic battery box that started cracking over time. Now I will start off by saying that I love this tester box. I have troubleshot and repaired many guitar rigs and church sound systems with this baby, and it's worth every penny I paid for it. However, my only problem with it is the battery box, which I repaired. So this is the only reason I took it apart. Now this box does no have any high power capacitors or power supplies, so it should be safe to proceed without the normal grounding straps and precautions associated with electronics repair. However, be sure you ground yourself to the chassis by touching the outside of the box, and that you don't walk away and generate static electricity. The Behringer CT-100 contains integrated circuits (ICs) that may be susceptible to damage from electro-static discharge (ESD).Click any picture to see the full size picture.
Taking It Apart
To take this thing apart, remove the battery
lid and batteries, then the four (two on each side) case screws,
then one screw holding the RCA
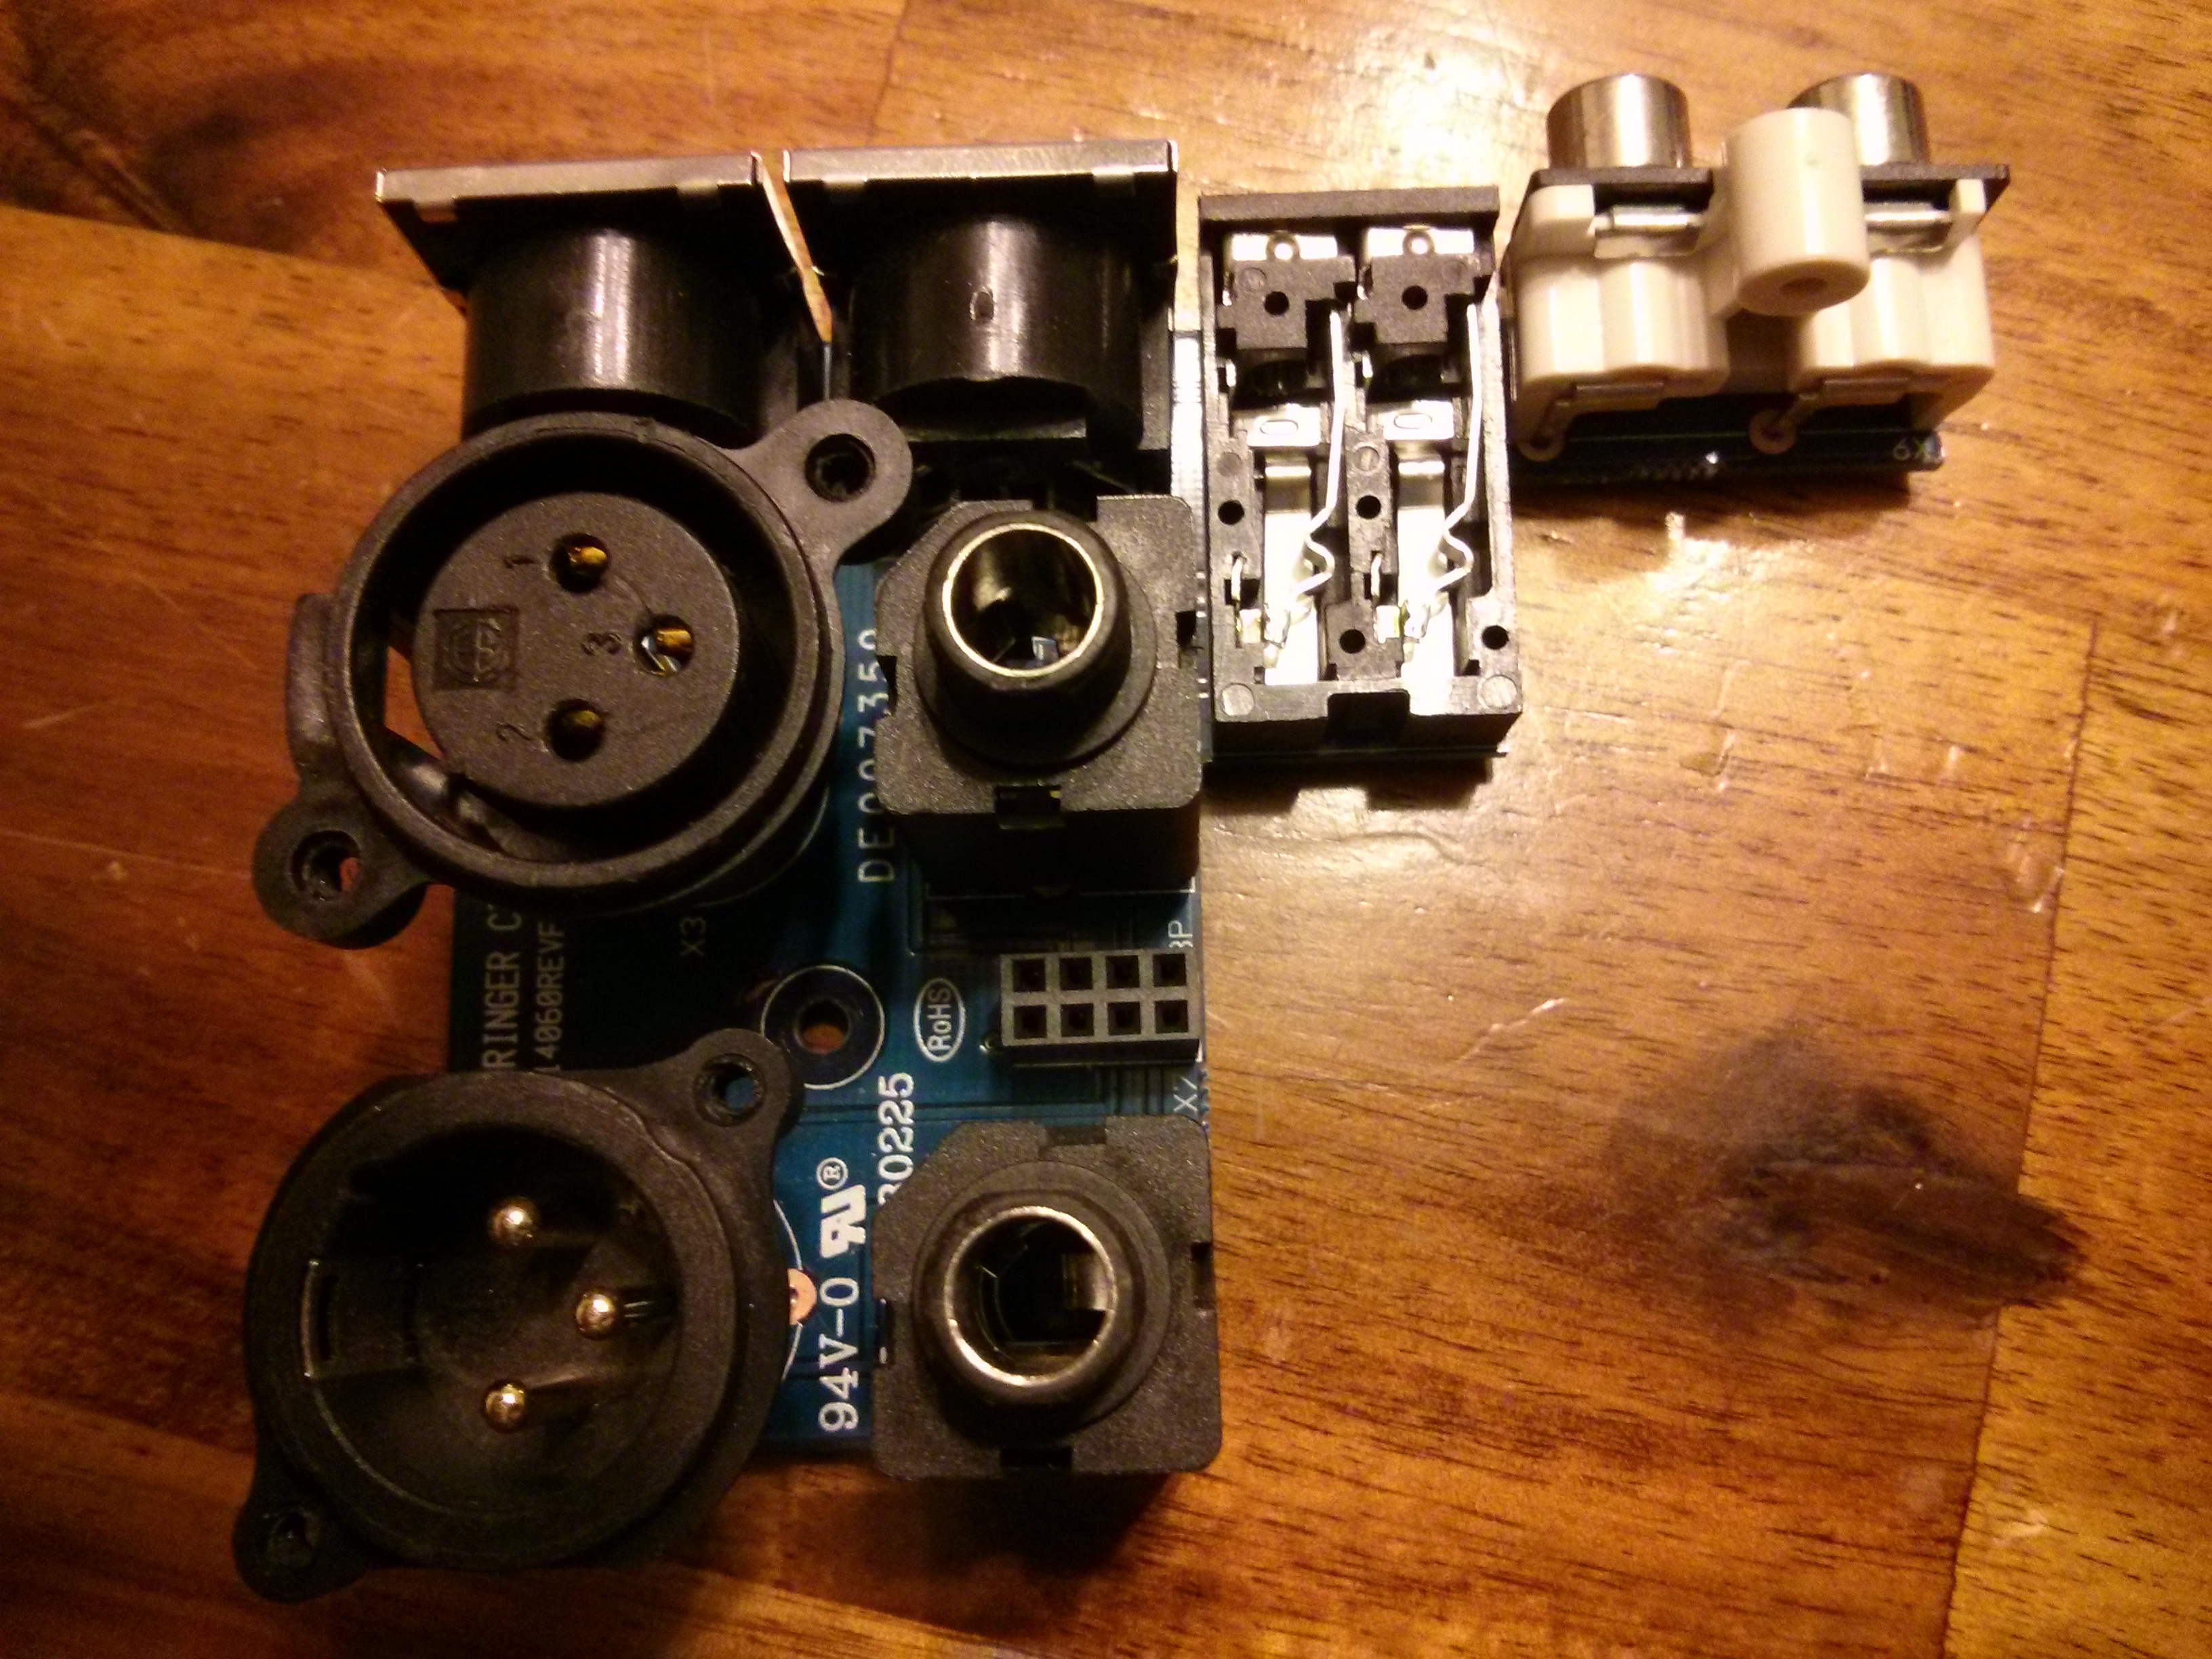
bracket to the case, then the four screws holding the XLR jacks
to the top lid, then the two washers and two nuts holding the 1/4"
jacks to the top plate.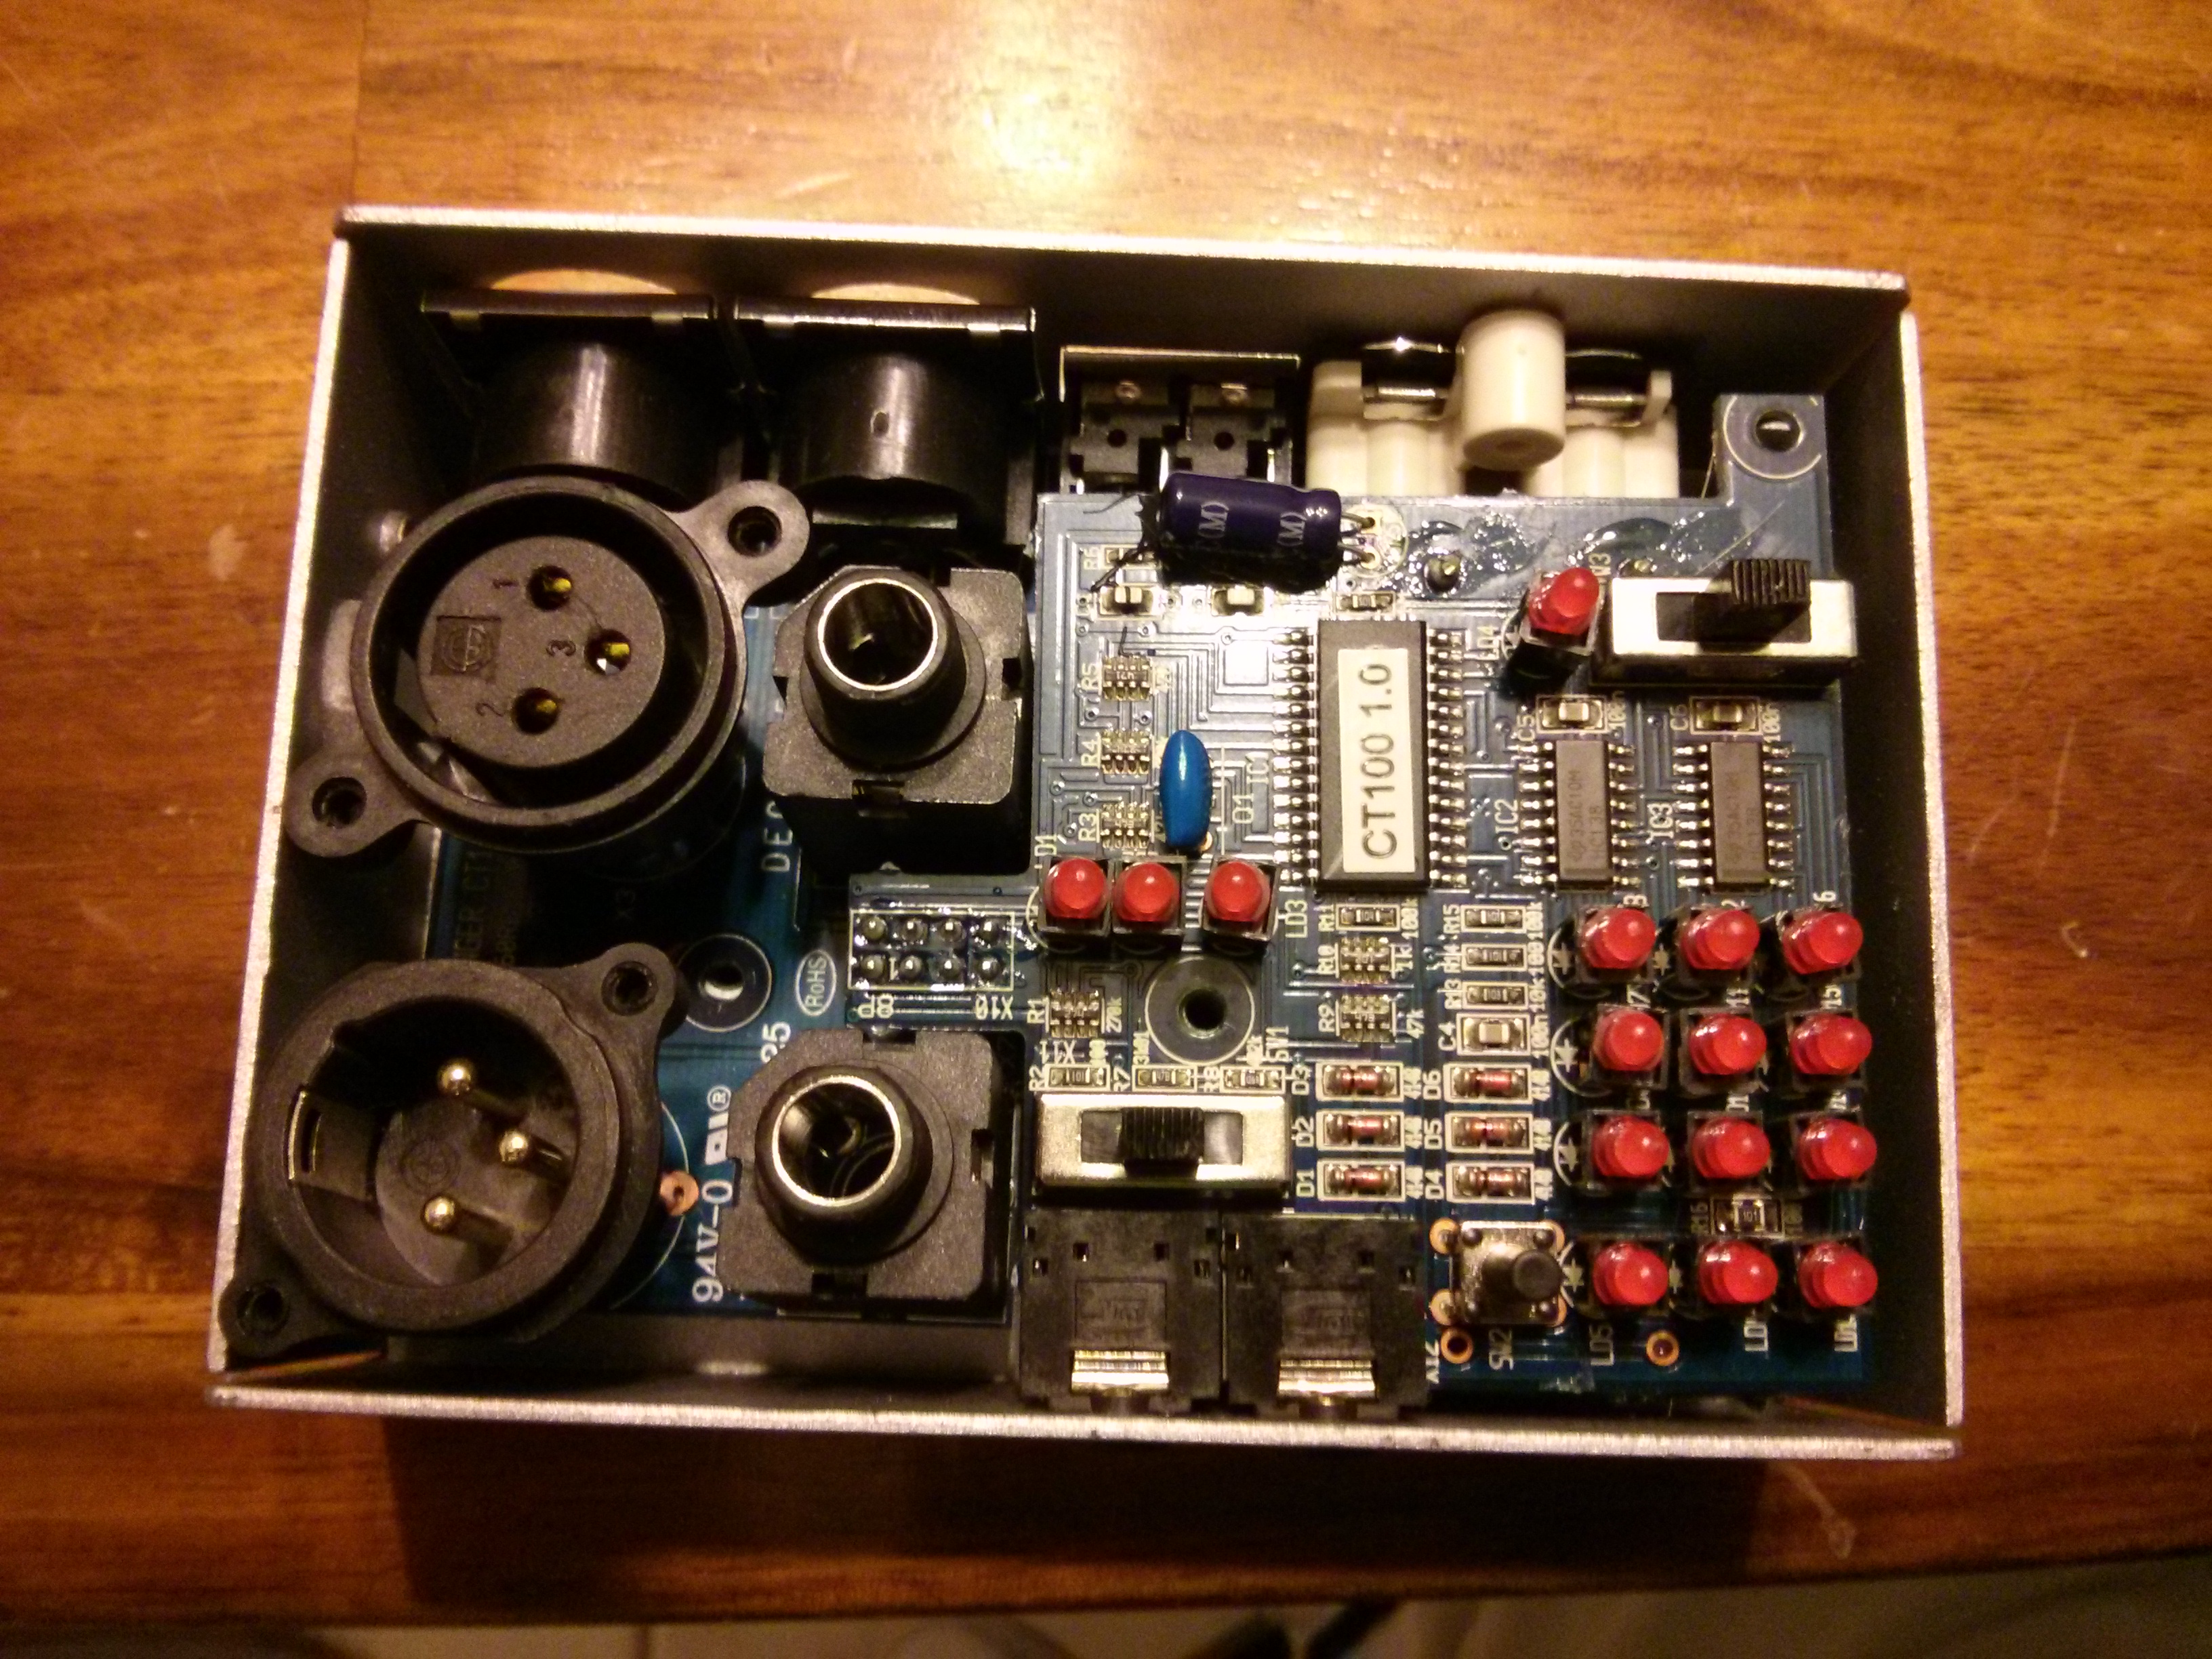
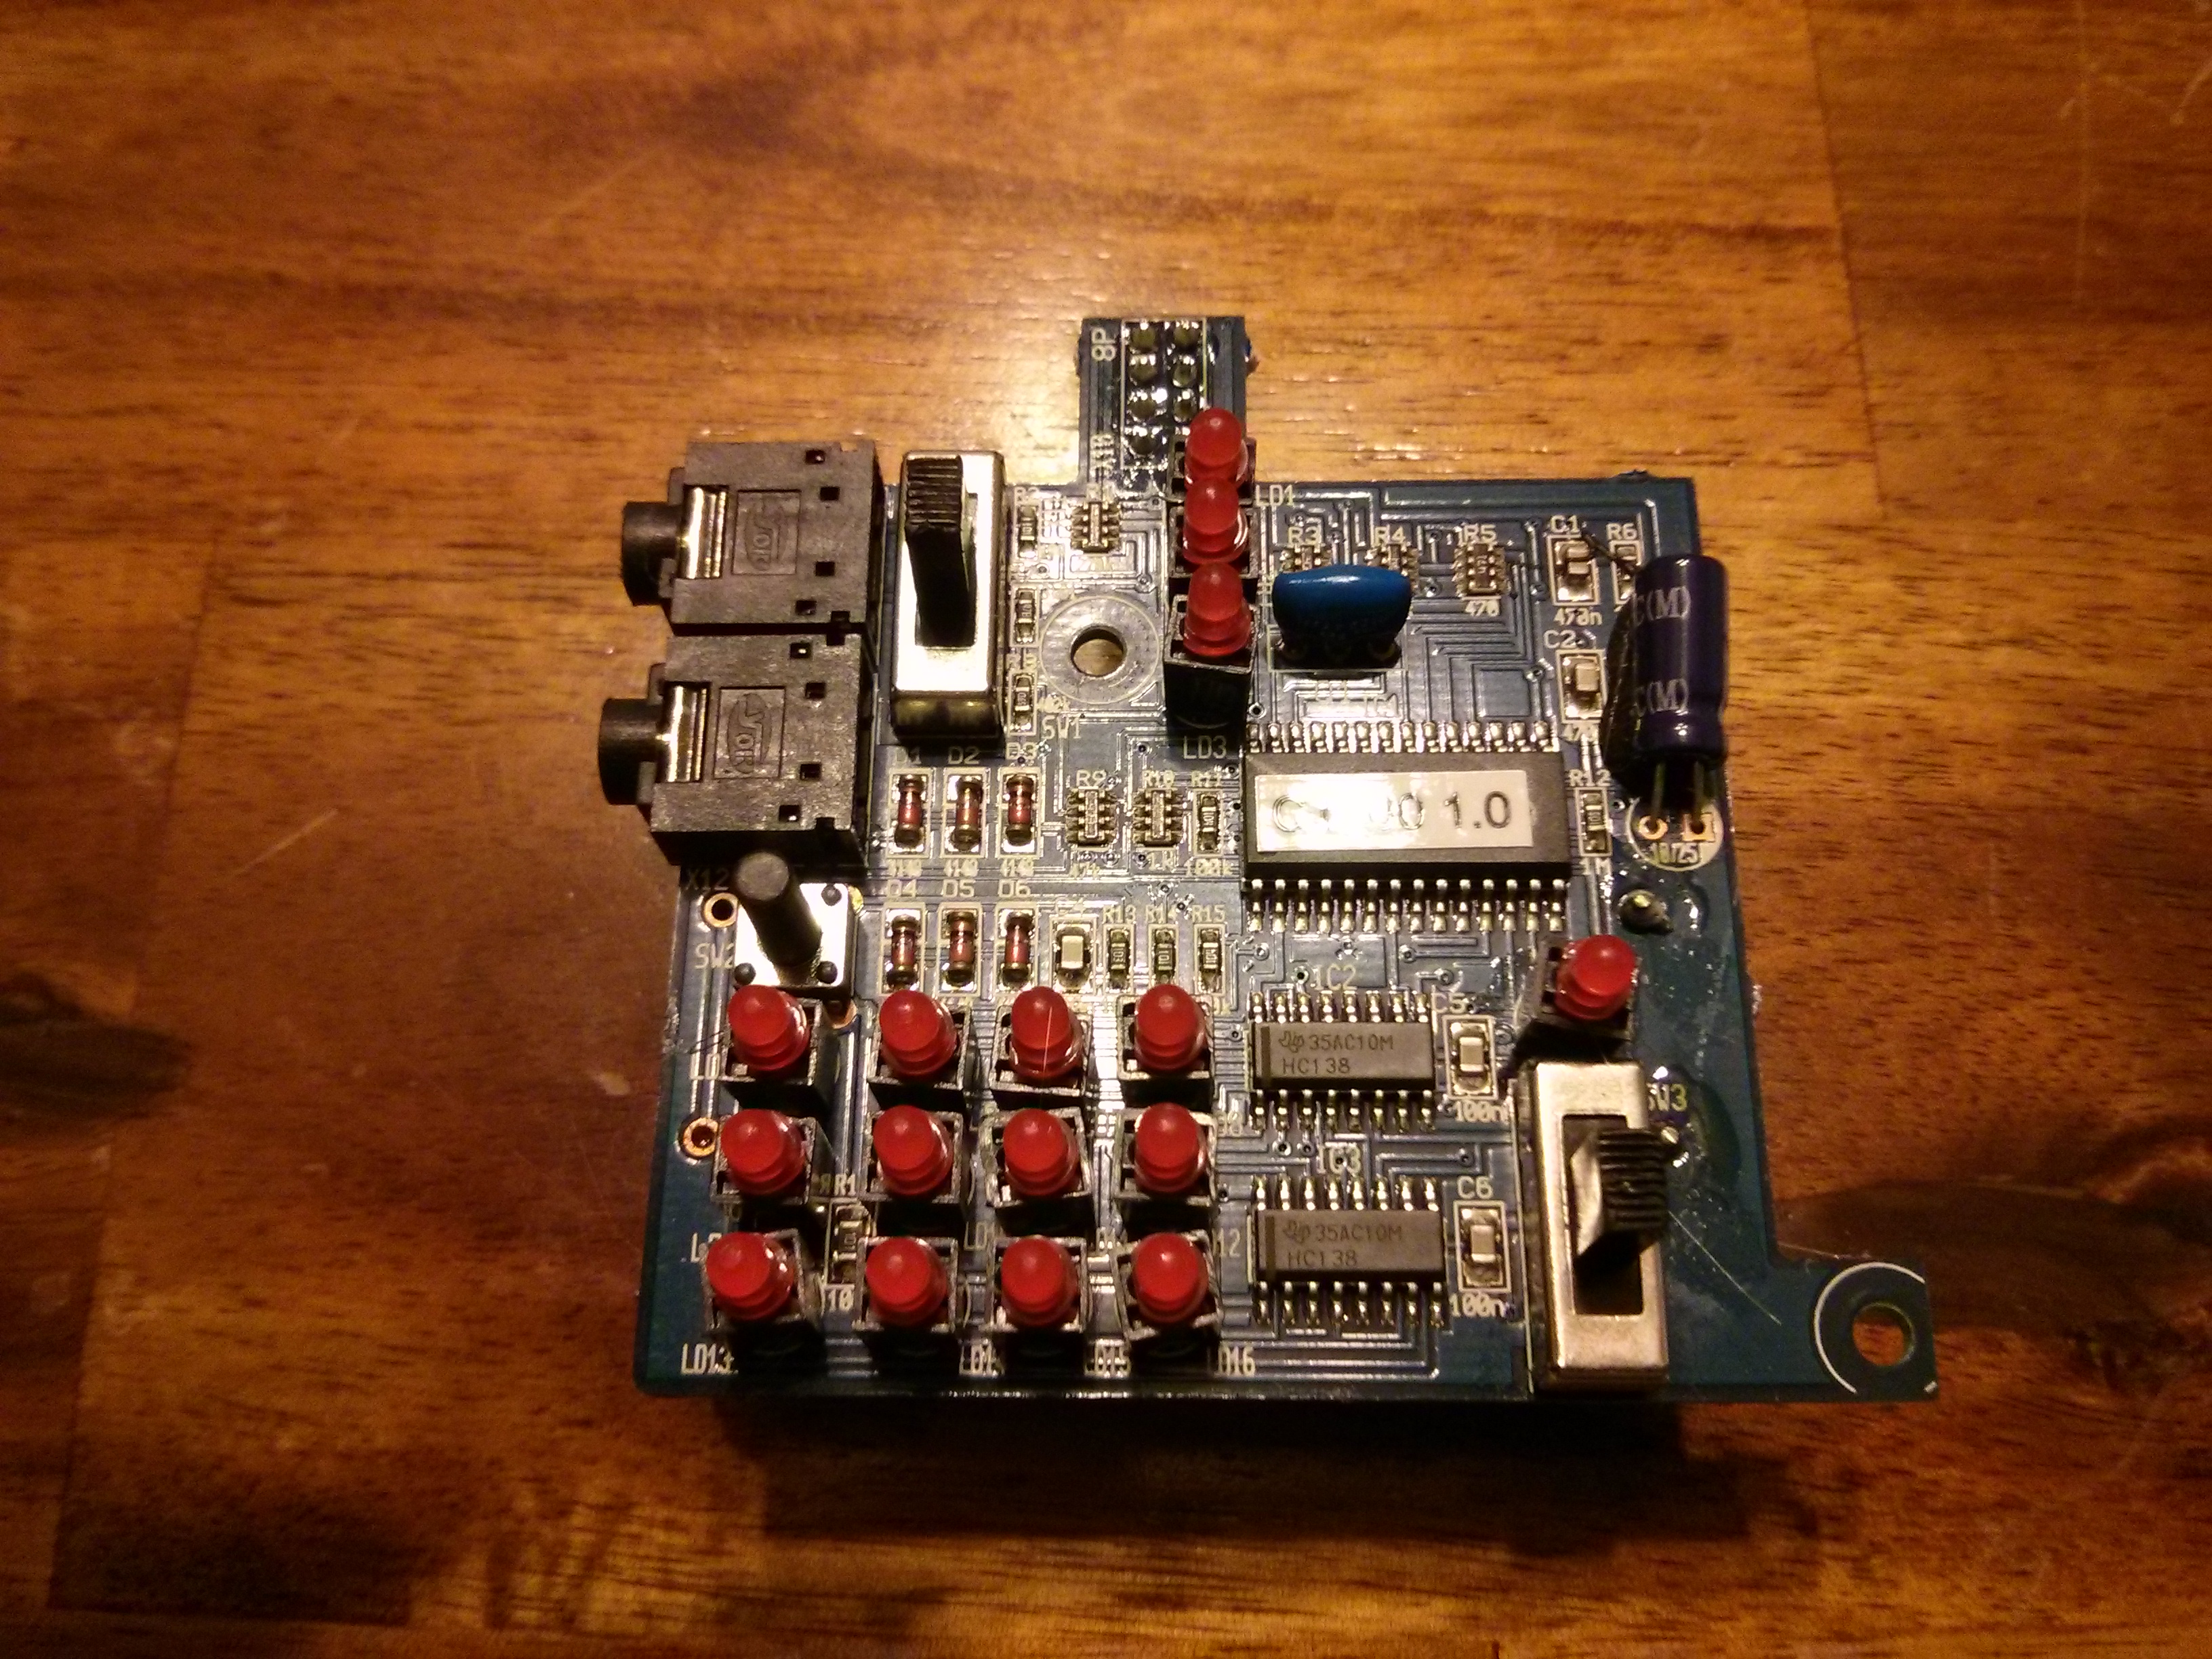
This is what you will see once the top plate has been removed. Inside there are three screws holding the circuit cards to the bottom of the box. You must remove these 3 screws to be able to mess with the battery box: one screw in the bottom board (with the XLR jacks) and two on the top board (with the ICs and LEDs). Now, a word of warning: do NOT pry on the TPTT switches! I learned the hard way and one popped off. It was a miracle I could reassemble the two internal pieces back onto the top of the switch assembly and pop it back on. I would say the difficulty level of doing that was between medium and hard (if you use the Doom 2000 easy/medium/hard scale LOL). So be very careful!
Once you remove the three screws, carefully remove the bottom and top boards with a combination of prying on the bottom case and moving the boards. Again, be careful. You can bend the bottom case back into place, but bending circuit boards can lead to breakage.
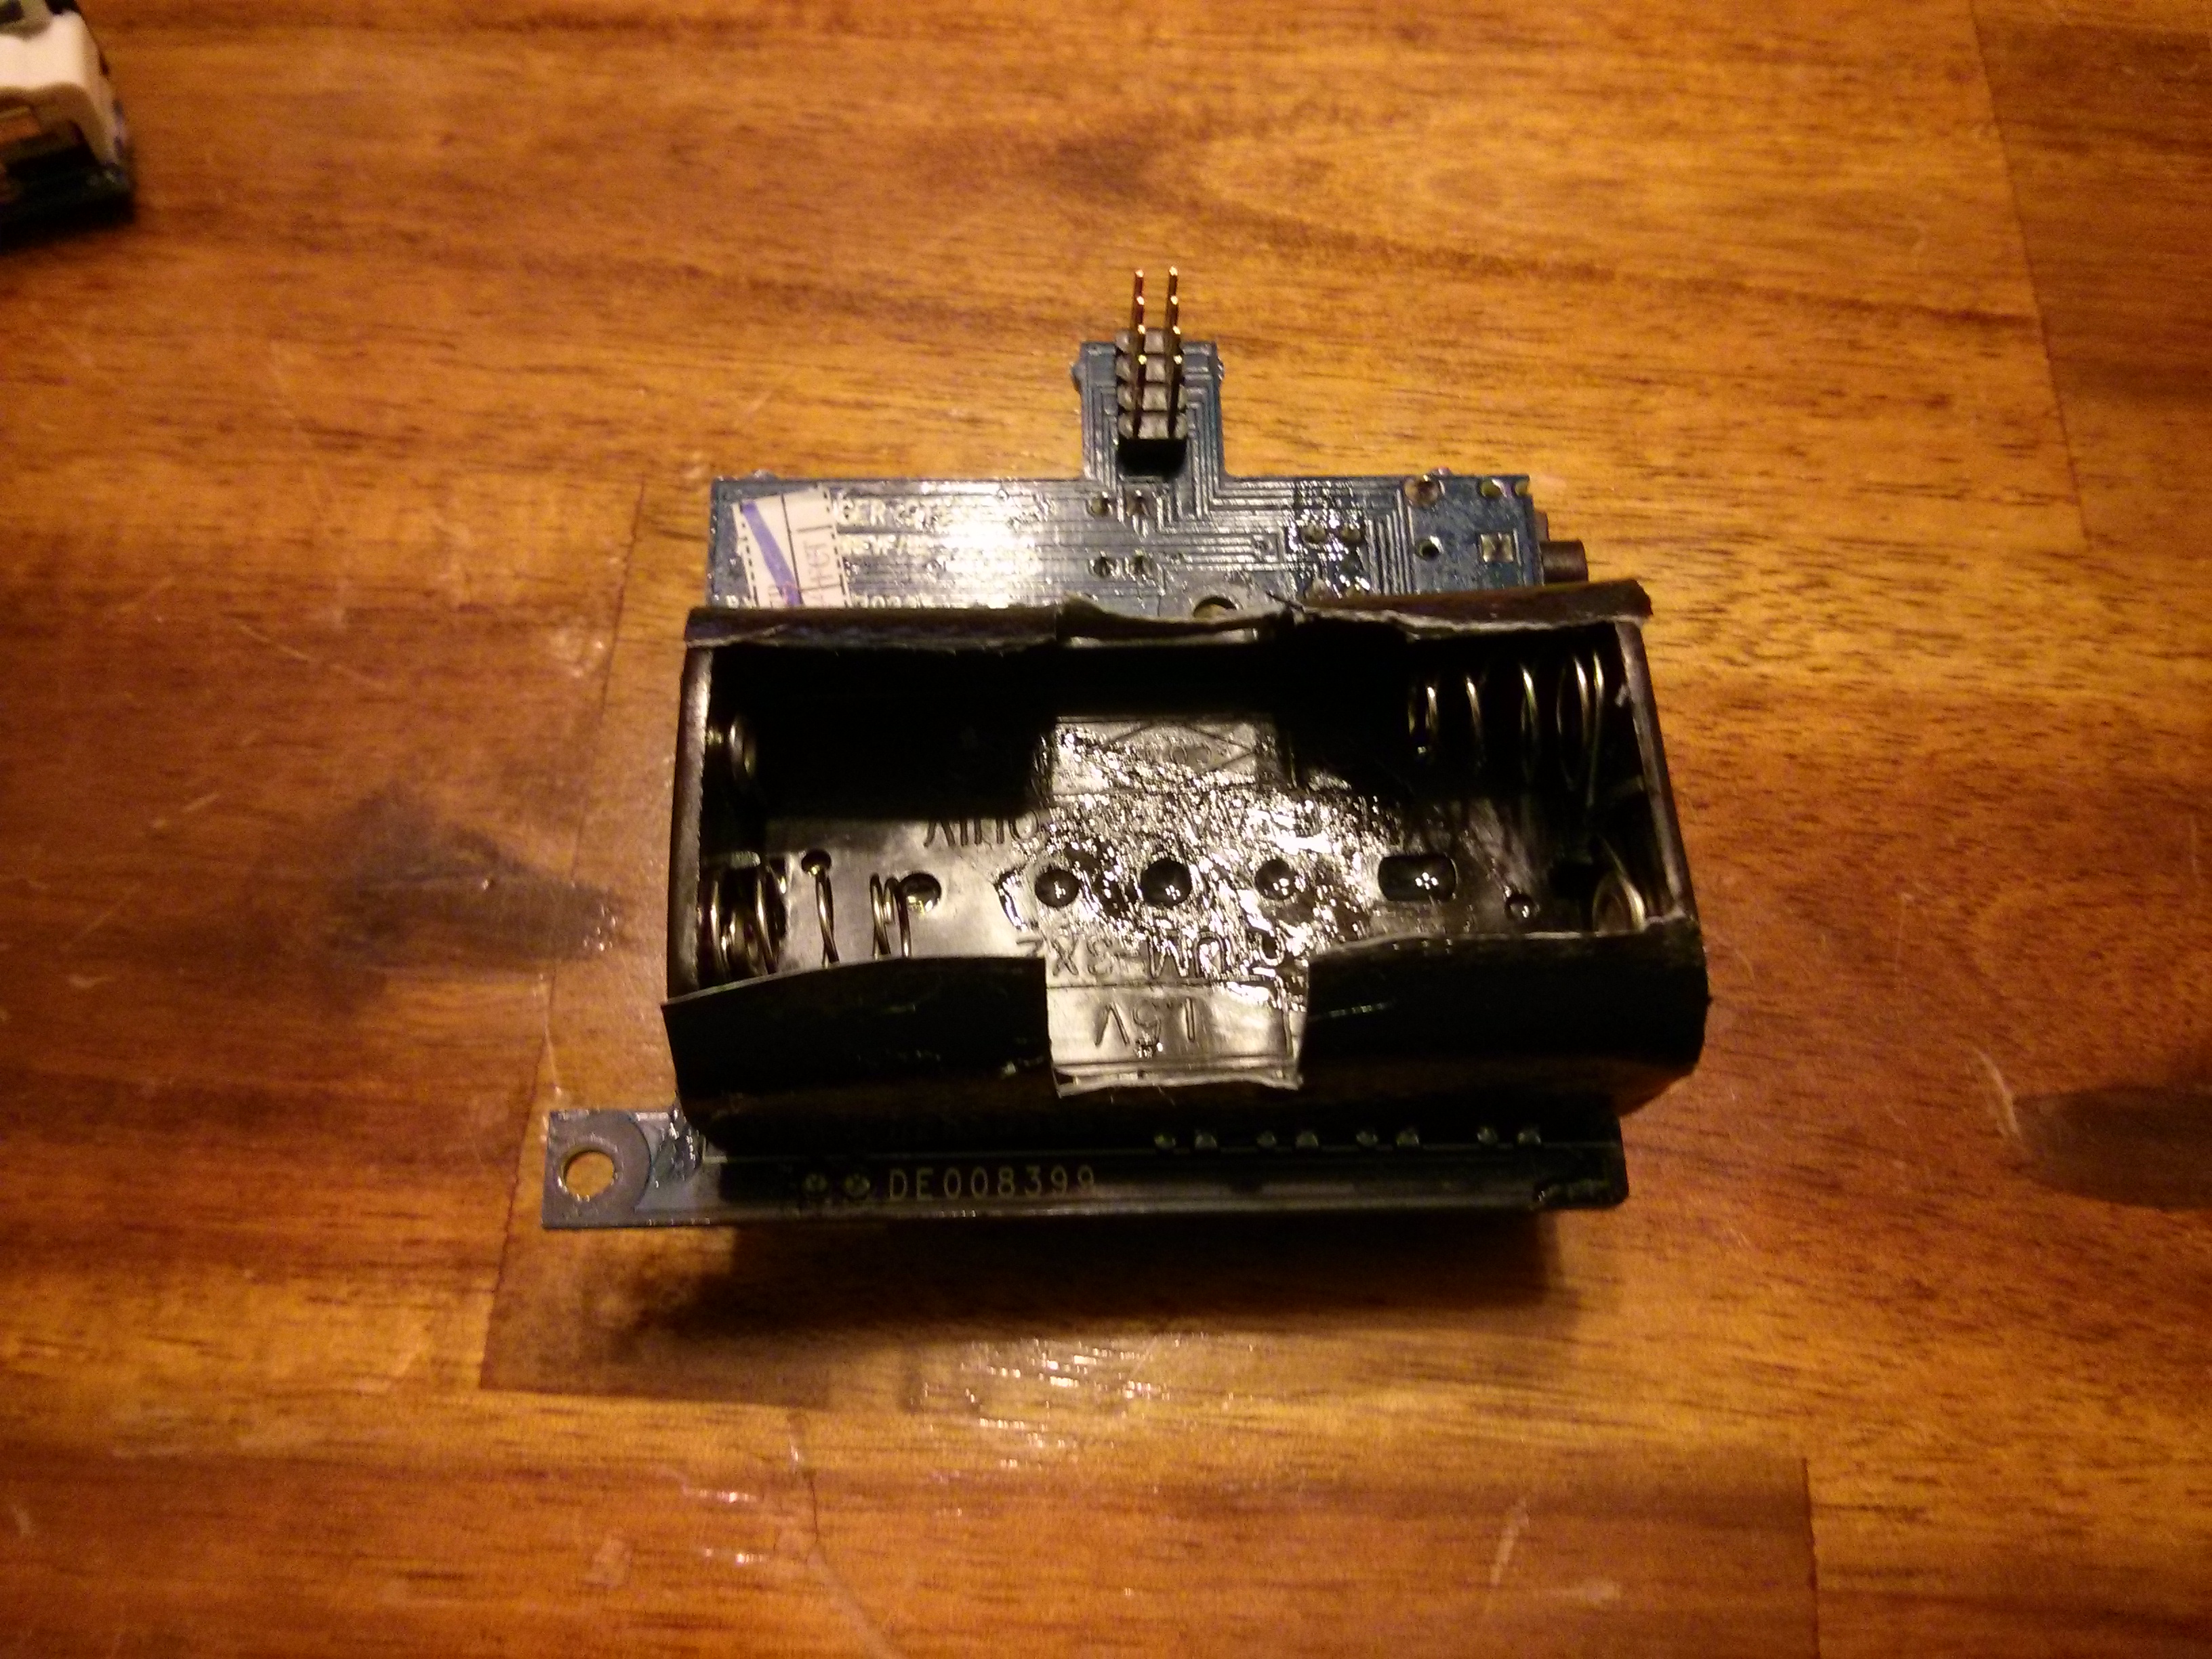
This is the bottom side of the top board. The prongs connect to the bottom board on top. Be careful not to bend the prongs! What I did, as you can see in the picture, is I used Gorilla Tape (tm) to try and reinforce the long sides of the plastic battery box, then used 3M Adhesive to try to glue the box to the bottom of the board. I had to apply pressure for a while to keep the board glued to the bottom. I probably could have or should have found a better adhesive to glue the box down, but this works, for now.
This is a view of the top of the top board. Note that the TPTT switches had felt covers to help keep dust and dirt out of the case. I put mine back on before reassembly, and I'd suggest you do the same.
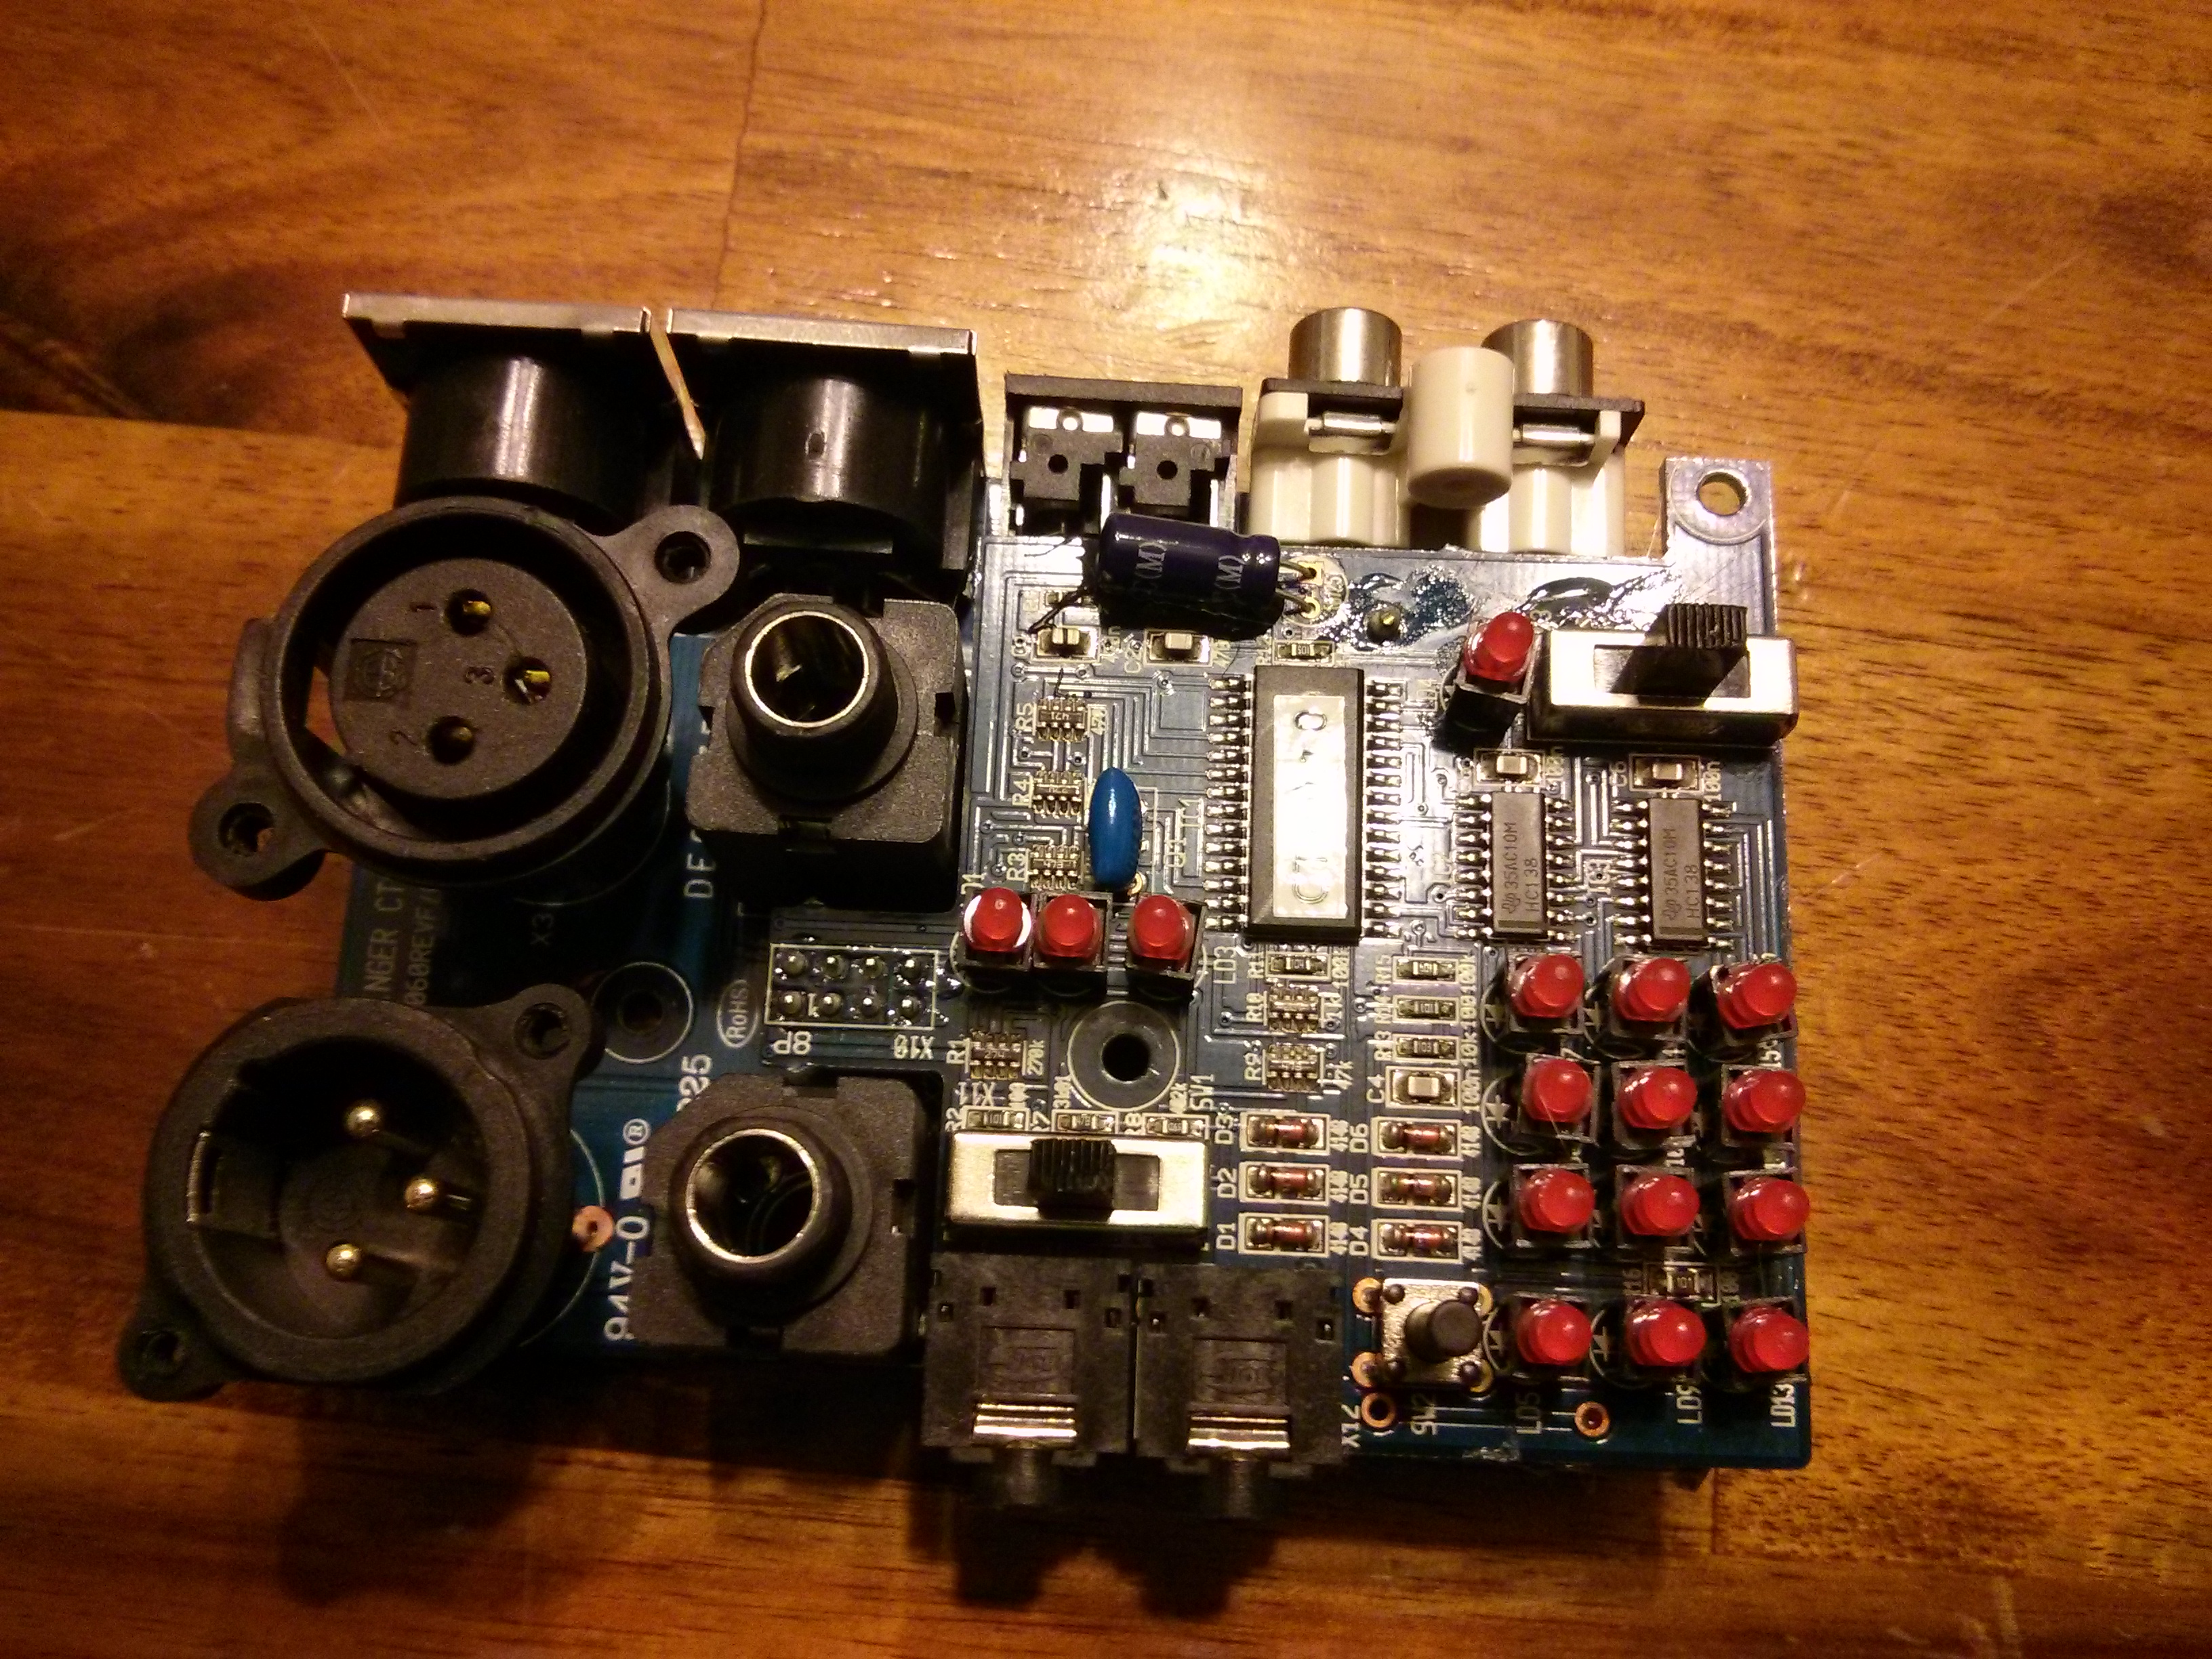
This is the top of the bottom board, showing the place the prongs of the top board plug in.
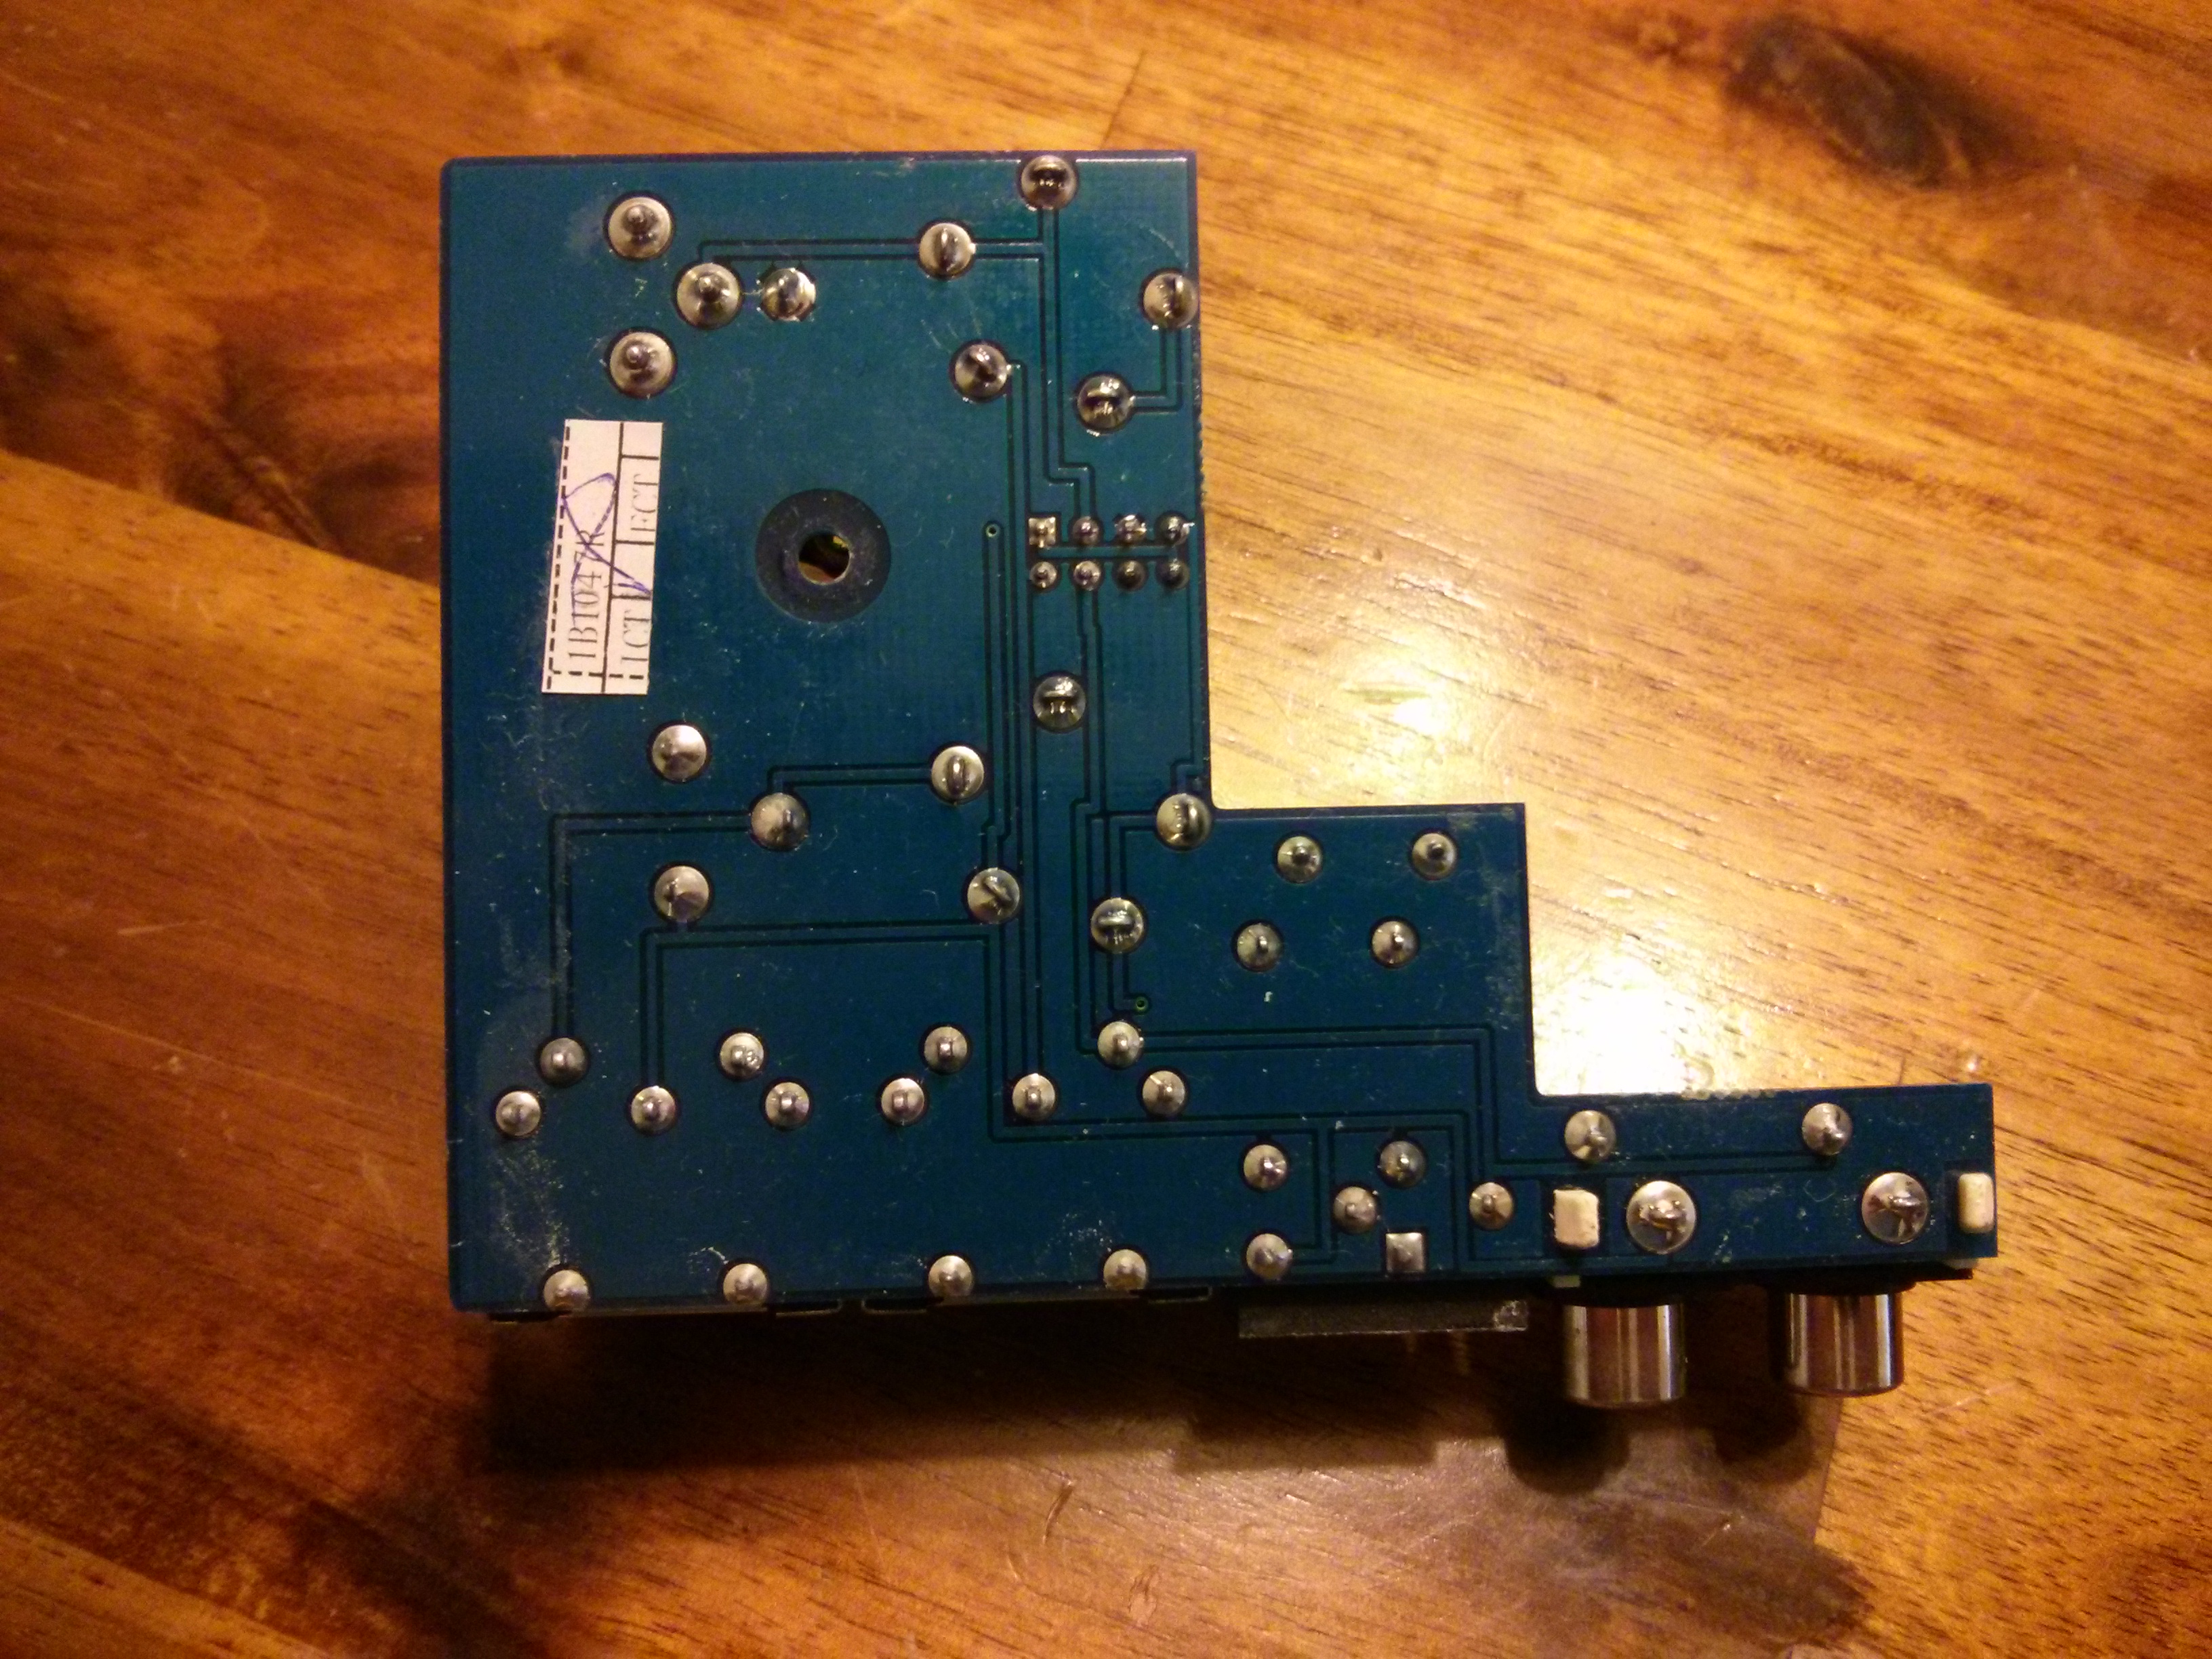
This is the bottom of the bottom board, just in case you were curious.
This is the two boards assembled together.
Conclusion
Installation is the reverse of assembly.
I am happy to report that my CT-100 still works. I would
strongly suggest to Behringer that they use metal for the battery
box in the future, or at least a much stronger plastic (think
Glock polymer), but this product is still totally worth the money.Behringer, 3M, Glock, and Gorilla are companies with whom I am not affiliated.