


ME-70 Cleaning Inside
Introduction
Recently, I noticed my foot pedal #2 on my
Boss ME-70 was intermittently triggering while I was playing
guitar. This happened once during a church service where I
was playing acoustic guitar. So I decided it was time to
clean my Boss ME-70 out on the inside.
Keep in mind, if you choose to do this, I am
not responsible for any injury or broken property.
Basically, there are no expressed or implied warranties.
You will proceed at your own risk.
Some basic mechanical advice: do not force
anything. If you have to exert a lot of force, that's a
sign that you're doing something wrong. You can easily
break this main board. Use the right tool for the
job. Be gentle. These pedals are excellent, but they
will break if you mishandle or abuse them. Normally, clean
electronics with technical isopropyl alcohol (i.e. with very
little water content). Store quality rubbing alcohol
(isopropyl alcohol) can be used, but use sparingly, and wipe up
the excess. I still recommend technical isopropyl due to
its very low water content. Never exert pressure directly
on the main board in any way: even a little flexing of a circuit
card like this can damage it. Make sure you are not
working in a place with lots of static electricity: static
electricity, even small charges, can destroy integrated
circuits. Ground yourself prior to working on this item.
If you have an ME-70, BR-80 or other guitar
product that you would like to be cleaned, contact me.
Disassembly
The first thing you should do is remove the
batteries, if any.
Then remove all screws from the bottom of the
unit. You will want to set up several blank pieces of
paper or cardboard on which you can make notes and put screws in
a shadow board type configuration to help you remember what
screws go where.
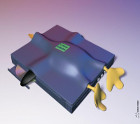
When you open it up, this is what it will
look like. Remove all visible screws from the bottom of
the main board. Notice that there are two removable
connectors, one on the left for the expression pedal, and one on
the right for the battery compartment. If you look
closely, there are marks on the board that seem to create a box
around the connector area for those. I would recommend
placing a small dot from a permanent marker towards the side of
the box that corresponds to the red wire before you remove the
connector, so you can remember how it's oriented. Or take
a picture, of course.
Before you remove the main board, remove
(with your hand) all the plastic knobs on the other side.
Then gently remove all the nuts holding the variable resistors
and switches (knob electronics) in place.
This is the input panel, removed. Just look at all this mess! You must remove the six or so screws on the input panel because it keeps the input jacks in place. And these jacks each have a washer and nut holding them to that panel, so before you remove this input panel, you must remove those nuts and screws.

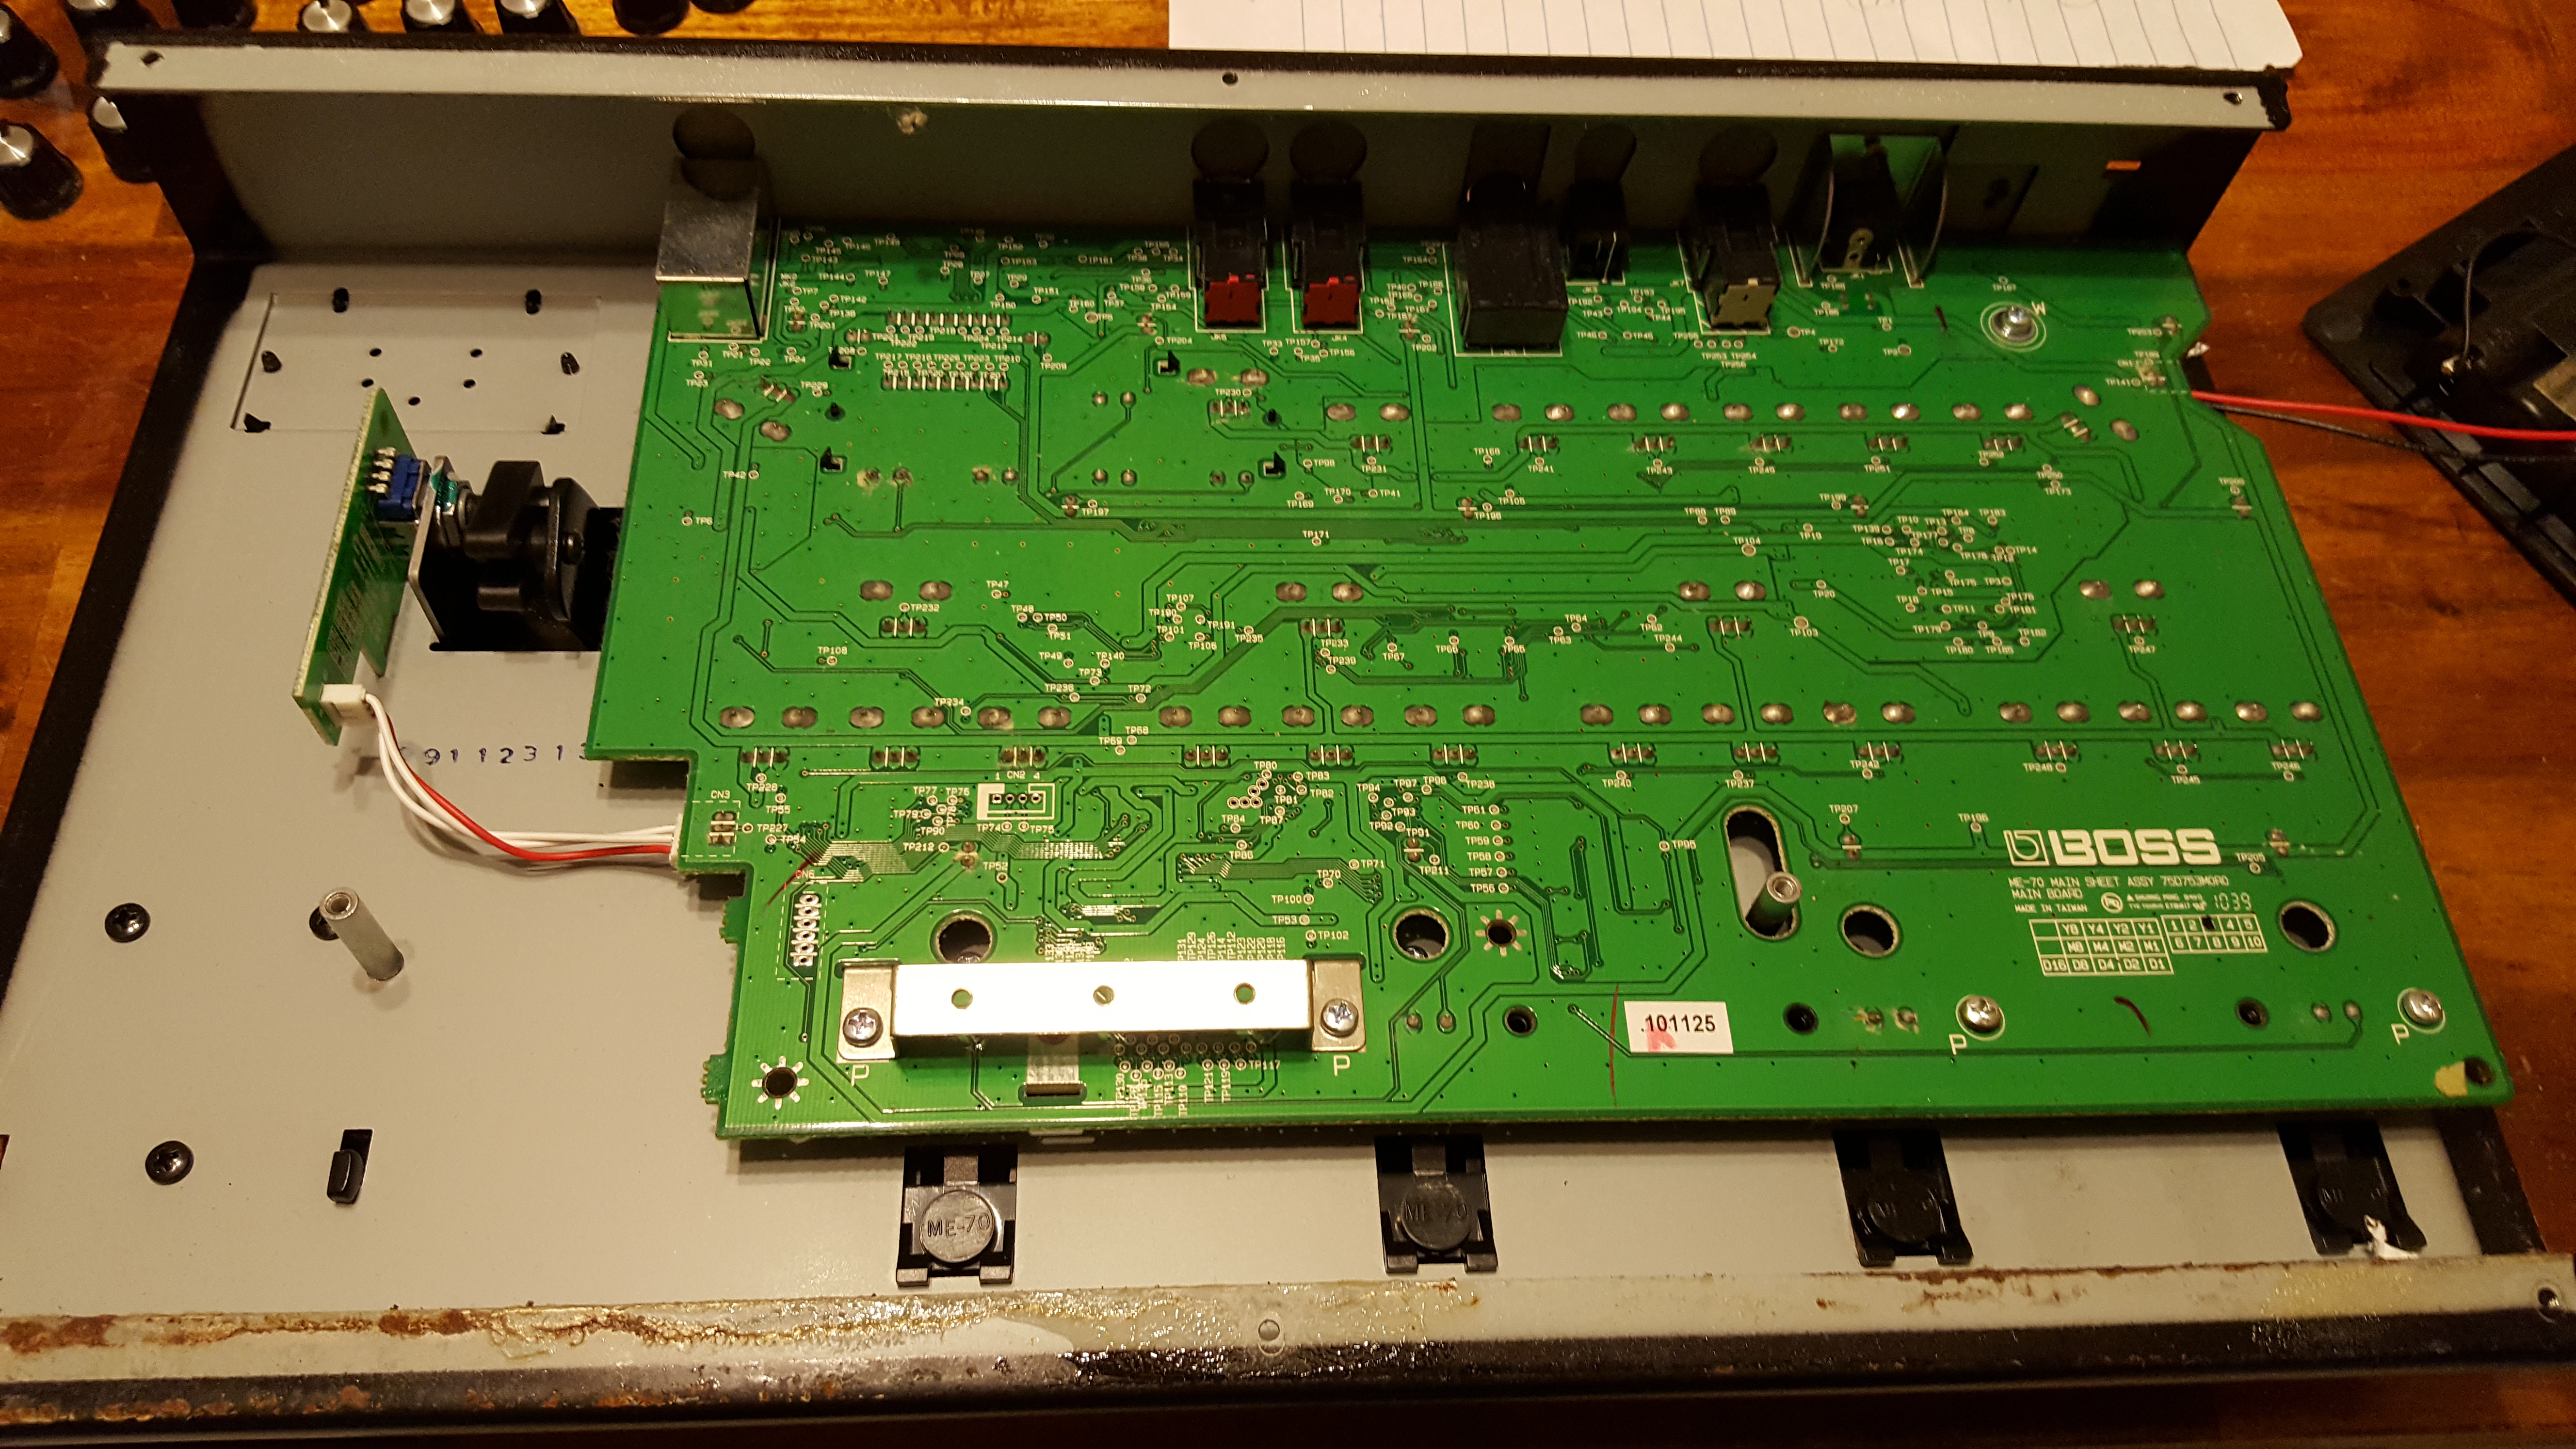
This is the main board, flipped over. If you look to the top of the picture near the LED lights on "pedestals", there are some switches. These are mainly what you want to clean. Trust me, after years, your pedal may be pretty gross inside. But clean it very good while you're in here. Clean around the switch and clean the switch itself with a Q-tip of isopropyl alcohol. BE VERY CAREFUL around the LED lights that are on pedestals. These will bend easily. If they break, they may not work, and/or the board itself may decide not to work (depending on how it's programmed). Then take a cotton ball damp (not dripping; squeezed out) with isopropyl alcohol and clean the main board. You can use a Q-tip on any component on the main board as long as you are careful. But keep in mind, I did not clean the display or buttons near it, so I can't verify that you can clean this part.
Underneath the main board in this picture are the mechanisms for the foot switches. To remove, (after unscrewing the one screw holding them in place) gently push the button assembly towards the input jack side (i.e. "up" or "forward" from the guitar player's normal frame of reference). They have little red rubber buttons that are not held in: don't lose these. Clean the inside of the mechanism. The button part you normally push with your foot can be pressed out of it slightly to clean, then snapped back in.
Reassemble completely and carefully. Clean all hardware carefully while reassembling.
In my opinion, do not use thread locker compound of any kind (Lok-Tite, etc). The most I would use would be nail polish. But even then, I don't usually use that on these components, either. So you should be fine to just carefully reassemble. I would not recommend using any more than 30 in/lb of force (gentle "hand tight") during reassembly, especially on the variable resistors and switches (which are the knobs). Too much force can pull switches and/or input jacks off of circuit cards, or at least put strain or stress on the main board. You do not want that.
Conclusion
Boss pedals have always been my favorite for
guitar purposes. Keep them clean and treat them right, and
they give you a long life of valuable service.
Again, if you don't know what you're doing, contact me, and I might clean your
ME-70 for a rate of an hour of labor.